When I first dabbled in plant-based cooking, these stuffed portobello mushrooms transformed my kitchen into a laboratory of flavors. I’ve discovered that these magnificent fungi serve as nature’s perfect vessels for a medley of quinoa, vegetables, and aromatic herbs.
As someone who’s experimented with countless vegan recipes, I can assure you that these stuffed portobellos aren’t just another meat alternative – they’re a celebration of textures and tastes in their own right. If you’re curious about how these earthy gems can become the centerpiece of your next dinner party, you’ll want to know my tried-and-true method for achieving that perfect golden crust.
Recipe
Vegan stuffed portobello mushrooms transform humble fungi into an elegant main course that delivers both nutrition and satisfaction. The meaty texture of portobello caps provides the perfect foundation for a savory quinoa-based filling, creating a dish that appeals to both vegans and omnivores alike.
These stuffed mushrooms combine protein-rich quinoa with colorful vegetables and aromatic herbs, all baked to golden perfection. The natural umami of the portobellos intensifies during roasting, while the carefully seasoned filling creates layers of flavor that make this dish a standout vegan option for any occasion.
- 4 large portobello mushroom caps
- 1 cup quinoa, uncooked
- 2 cups vegetable broth
- 1 red bell pepper, diced
- 1 medium onion, finely chopped
- 3 cloves garlic, minced
- 2 cups fresh spinach, chopped
- 1/2 cup panko breadcrumbs
- 3 tablespoons olive oil
- 1 tablespoon balsamic vinegar
- 1 teaspoon dried thyme
- 1 teaspoon dried oregano
- 1/2 teaspoon sea salt
- 1/4 teaspoon black pepper
Preheat oven to 400°F (200°C). Cook quinoa in vegetable broth according to package instructions.
Meanwhile, clean mushroom caps and remove stems. Heat 2 tablespoons olive oil in a large skillet over medium heat, sauté onion and garlic until softened, add bell pepper and cook for 3 minutes.
Stir in cooked quinoa, spinach, breadcrumbs, thyme, oregano, salt, and pepper. Brush mushroom caps with remaining olive oil and balsamic vinegar, fill with quinoa mixture, and bake for 20-25 minutes until mushrooms are tender and filling is golden brown.
For optimal results, store mushrooms in a paper bag in the refrigerator until ready to use. The stuffing can be prepared up to 24 hours in advance and stored in an airtight container.
If the mixture appears dry, add vegetable broth one tablespoon at a time until reaching desired consistency. Let mushrooms rest for 5 minutes after baking before serving.
Leftover stuffed mushrooms can be refrigerated for up to three days and reheated in a 350°F oven until warmed through.
Step-By-Step Cooking Instructions
You’ll want to begin by cleaning your portobello caps with a damp paper towel and cooking your quinoa until fluffy.
Next, sauté your onions, garlic, and bell peppers until tender, then combine them with the quinoa, seasonings, and breadcrumbs to create a hearty filling.
Finally, brush your mushroom caps with olive oil and balsamic vinegar, fill them generously with the quinoa mixture, and bake at 400°F until the tops turn golden brown and the mushrooms become tender.
Step 1. Clean Portobello Caps Thoroughly

Since portobello mushrooms can trap dirt in their gills, proper cleaning is essential for the best flavor and presentation. Start by gently wiping each mushroom cap with a slightly damp paper towel, removing any visible dirt or debris.
Don’t run them under water, as portobellos act like sponges and will become waterlogged, resulting in a soggy final dish.
Next, carefully remove the stems by twisting them until they pop out, then use a small spoon to gently scrape out the dark gills from the underside of the caps. While the gills are edible, they can make your dish look muddy and release a dark liquid when cooked.
After removing the gills, wipe the caps once more with a clean, dry paper towel to ensure all debris is gone.
Once cleaned, place your mushroom caps on a paper towel-lined plate, stem-side up, allowing any remaining moisture to drain. You’ll notice the caps have a natural bowl shape that’s perfect for holding your quinoa filling.
At this point, they’re ready for brushing with olive oil and balsamic vinegar before stuffing.
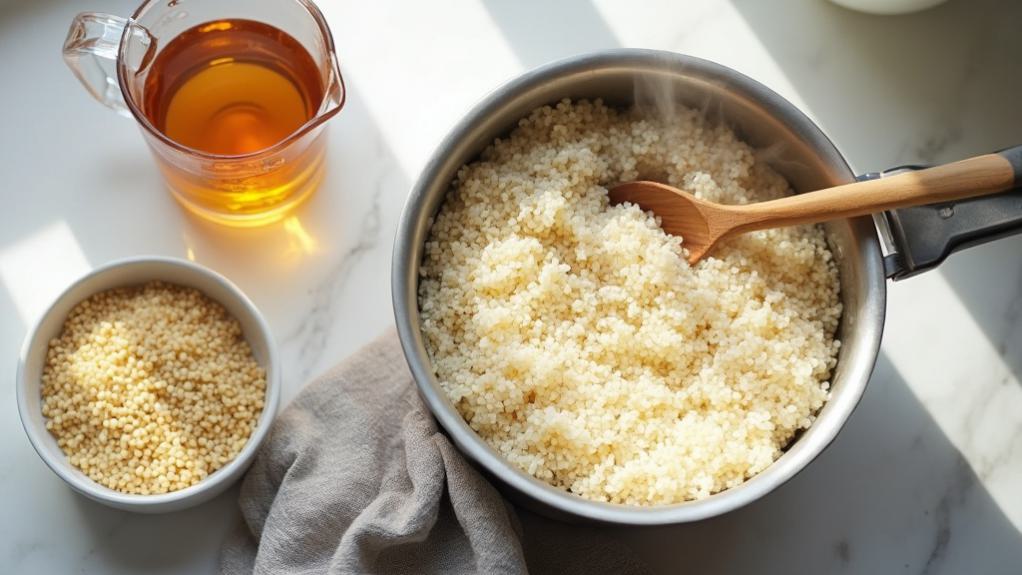
Step 2. Prepare Quinoa According to Package

Perfect quinoa begins with proper measurement and thorough rinsing to remove its natural coating of saponins, which can leave a bitter taste.
Place your quinoa in a fine-mesh strainer and rinse under cold water until the water runs clear, usually about 1-2 minutes. You’ll need 1/2 cup of dry quinoa to yield the 1 cup of cooked quinoa required for this recipe.
Transfer the rinsed quinoa to a medium saucepan and add 1 cup of water or vegetable broth for extra flavor.
Bring the mixture to a boil over high heat, then reduce to low and cover with a tight-fitting lid. Let it simmer for 15-20 minutes, or until the liquid is absorbed and the quinoa’s characteristic spiral-shaped germs have released.
You’ll know it’s done when the grains are tender but still slightly chewy, and small white rings appear around each seed.
Remove the pan from heat and let it rest, covered, for 5 minutes.
Then, fluff the quinoa gently with a fork to separate the grains. Allow it to cool slightly before incorporating it into your mushroom filling mixture.
Step 3. Sauté Vegetables Until Tender

Preparing the vegetable base for our stuffed mushrooms begins with heating 1 tablespoon of olive oil in a large skillet over medium heat.
Once the oil is shimmering, add your finely chopped onion and minced garlic, stirring frequently to prevent burning. You’ll want to cook these aromatics for 3-4 minutes until they’re translucent and fragrant.
Next, add your diced red bell pepper to the pan. Continue cooking for another 4-5 minutes, stirring occasionally, until the peppers have softened but still maintain a slight crunch.
You’ll notice the vegetables developing a beautiful caramelization on their edges. Now’s the time to add your chopped fresh spinach to the skillet. It’ll look like a lot at first, but don’t worry – it’ll quickly wilt down to the perfect amount.
Season the vegetable mixture with salt and black pepper to taste, then cook for an additional 1-2 minutes until the spinach has completely wilted but remains bright green.
Once your vegetables are tender and aromatic, remove the skillet from heat. You’ve now created the perfect foundation for your mushroom stuffing.
Step 4. Mix Quinoa and Seasonings

With your sautéed vegetables ready and waiting, it’s time to incorporate the quinoa and seasonings that will transform your filling into a flavorful masterpiece.
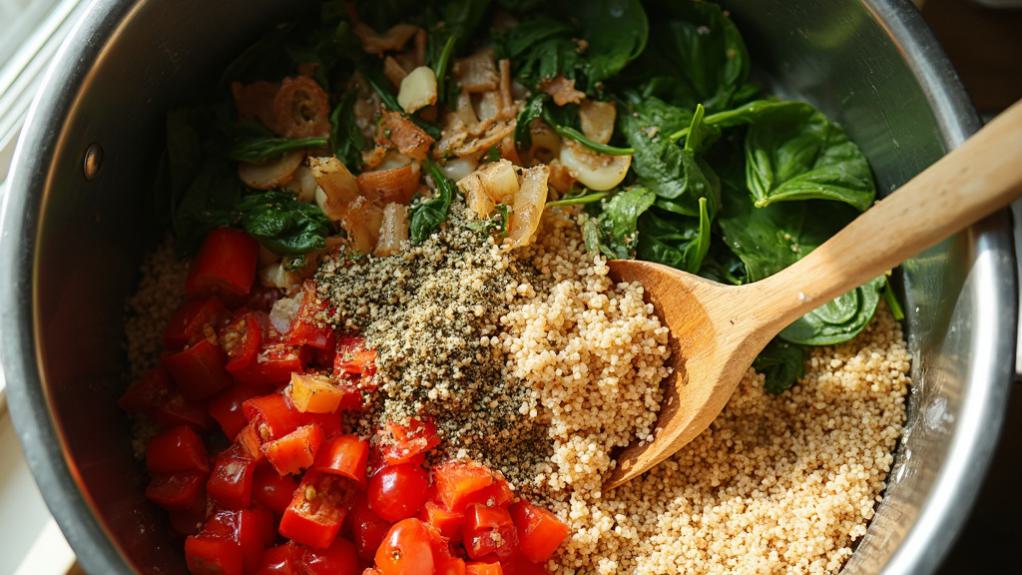
Add your pre-cooked quinoa to the pan with the sautéed vegetables, stirring gently to combine. Sprinkle in the dried thyme and oregano, ensuring they’re evenly distributed throughout the mixture.
Now’s the moment to fold in your fresh chopped spinach, allowing it to wilt slightly from the residual heat. Season the mixture with salt and black pepper to taste, remembering that you can adjust the seasonings later if needed.
Add the breadcrumbs gradually, stirring after each addition until you’ve achieved a consistency that will hold together when pressed. If you notice your mixture’s too dry, don’t hesitate to add a small splash of vegetable broth – you’re looking for a filling that’s moist but not wet.
Give everything a final stir, making sure all ingredients are well incorporated. Your filling should be aromatic and cohesive, ready to be spooned into those prepared portobello caps.
Let the mixture rest for a minute or two, allowing the flavors to meld together perfectly.
Step 5. Bake Stuffed Mushrooms Until Golden

Once you’ve filled your mushroom caps with the aromatic quinoa mixture, it’s time for the final and most transformative step of baking.
Preheat your oven to 400°F (200°C) and place the stuffed portobellos on a lined baking sheet, ensuring they’re not touching one another.
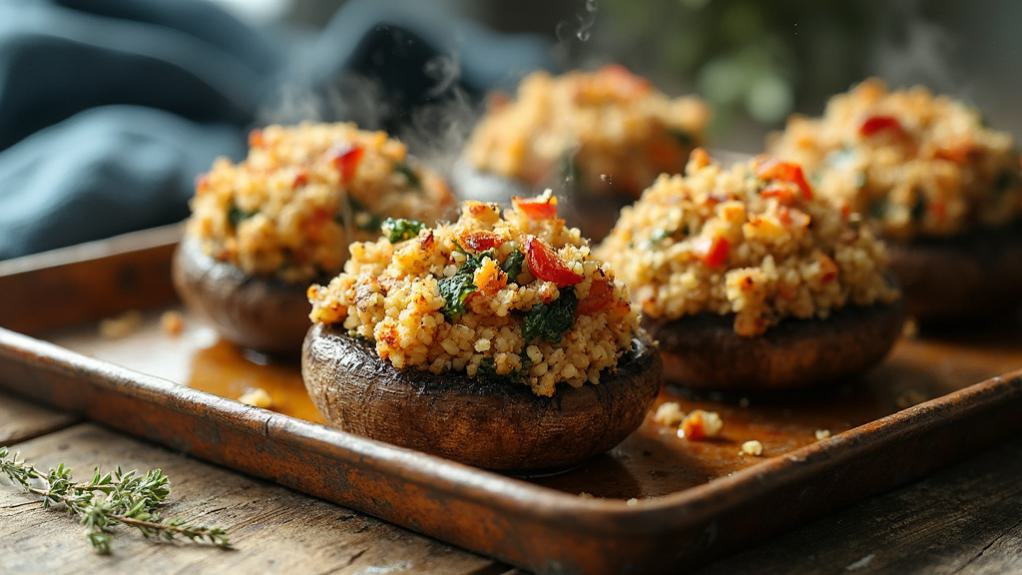
Position the mushrooms in the middle rack of your oven, where they’ll receive even heat distribution. You’ll want to bake them for 20-25 minutes, until you notice the mushroom caps have become tender and the quinoa topping has turned a beautiful golden brown.
If you see the tops browning too quickly, loosely cover them with foil to prevent burning while allowing the mushrooms to cook through completely.
After removing them from the oven, let the mushrooms rest for 5 minutes. This resting period isn’t just for cooling – it allows the flavors to meld together and helps the filling set properly.
You’ll know they’re perfectly done when the mushrooms are fork-tender and release their natural juices, while the quinoa topping maintains a slightly crispy texture on top while staying moist underneath.
Why I Love This Dish
These stuffed portobello mushrooms have become my go-to recipe for elegant plant-based entertaining. I’m drawn to how the meaty texture of the mushrooms creates a satisfying centerpiece that impresses both vegans and omnivores alike.
When I serve these at dinner parties, I love watching guests’ eyes light up as they realize healthy food can be this delicious.
What I appreciate most about this dish is its versatility. I can prepare the quinoa filling ahead of time, which makes entertaining so much easier. The combination of protein-rich quinoa, colorful vegetables, and aromatic herbs creates layers of flavor that complement the earthy mushrooms perfectly.
I’ve found that even picky eaters who typically avoid vegetables eagerly clean their plates.
As someone who values both nutrition and taste, I’m particularly fond of how this recipe transforms simple ingredients into something special. The balsamic vinegar adds a subtle tanginess that elevates the entire dish, while the golden-brown crust that forms on top of the filling provides a delightful textural contrast.
It’s truly a recipe that makes me proud to serve plant-based cuisine.

Leave a Reply