I’ve discovered that vegan stuffed mushroom caps represent far more than a mere appetizer – they’re an artful fusion of textures and flavors that challenge conventional perceptions of plant-based cuisine. As someone who’s spent years perfecting this dish, I can attest that the key lies in the precise balance of earthy mushrooms with a carefully crafted filling.
The transformation of simple button mushrooms into elegant vessels of savory delight isn’t just about following a recipe; it’s about understanding the subtle interplay of ingredients that elevate this dish from ordinary to extraordinary. Let me share how these sophisticated bites come together.
Recipe
Fresh button mushrooms transform into elegant appetizers in this completely plant-based version of stuffed mushroom caps. The earthy mushrooms provide the perfect vessel for a savory filling made with breadcrumbs, walnuts, and aromatic herbs.
This vegan adaptation maintains all the rich flavors of traditional stuffed mushrooms while being entirely dairy-free and meat-free. The combination of nutritional yeast and minced garlic creates a wonderfully umami flavor profile, while the walnuts add both protein and a pleasant textural element to each bite.
- 24 medium button mushrooms
- 1 cup plain breadcrumbs
- 1/2 cup finely chopped walnuts
- 4 cloves garlic, minced
- 1/4 cup fresh parsley, chopped
- 2 tablespoons olive oil
- 1 tablespoon nutritional yeast
- 1 teaspoon dried thyme
- 1/2 teaspoon salt
- 1/4 teaspoon black pepper
- 2 tablespoons lemon juice
Preheat oven to 375°F (190°C). Gently clean mushrooms with a damp paper towel and remove stems. Finely chop the stems and mix with remaining ingredients in a bowl until well combined. Fill each mushroom cap with the mixture, pressing gently to ensure it stays in place. Arrange stuffed mushrooms on a baking sheet and bake for 20-25 minutes until golden brown on top and mushrooms are tender.
To achieve the best results, make sure your mushrooms are very fresh and firm. Avoid soaking them in water as they’ll become waterlogged and won’t bake properly.
The filling can be made a day in advance and stored in an airtight container in the refrigerator. For extra crispiness, place under the broiler for the final 1-2 minutes of cooking, watching carefully to prevent burning.
Leftovers can be stored in an airtight container for up to 3 days and reheated in the oven until warm.
Step-By-Step Cooking Instructions
You’ll begin by combining your breadcrumbs, chopped walnuts, minced garlic, and seasonings in a mixing bowl until they form a cohesive stuffing mixture that holds together when pressed.
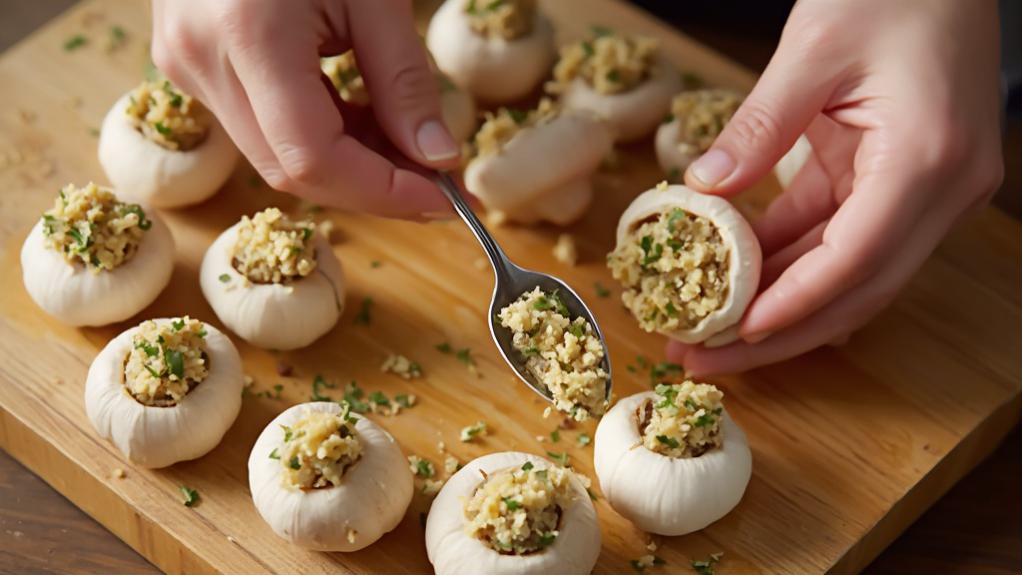
Next, you’ll carefully spoon the prepared filling into each cleaned mushroom cap, gently pressing down to ensure the mixture is firmly packed but not overflowing.
Finally, you’ll arrange your stuffed mushrooms on a baking sheet and let them bake at 375°F for 20-25 minutes until golden brown, allowing them to rest for 5 minutes before serving to ensure the perfect texture and temperature.
Step 1. First Stuffed Mushroom Cap

Begin with selecting a firm, unblemished mushroom cap from your prepared ingredients, gently wiping it clean with a damp paper towel to preserve its natural texture.
Hold the mushroom in your palm and carefully twist the stem to remove it, creating a perfect hollow for your filling. Set the stem aside for later use in your mixture.
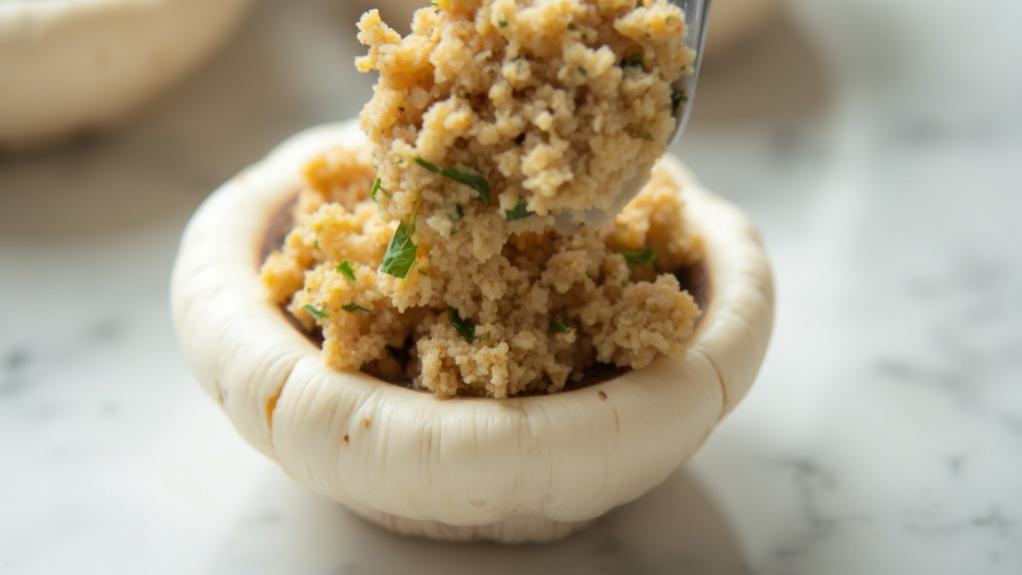
Examine the cavity of your mushroom cap, ensuring it’s free from any stem fragments. Using a small spoon, scoop approximately one tablespoon of your prepared walnut-breadcrumb mixture and press it gently into the mushroom’s hollow.
You’ll want to create a slightly domed effect, compacting the filling just enough to hold its shape without crushing the delicate mushroom.
Position your first stuffed mushroom cap on the prepared baking sheet, placing it filling-side up. The mushroom should sit steadily without tipping, allowing the filling to maintain its form during baking.
You’ve now completed your first stuffed mushroom cap, establishing the template for preparing the remaining ones with consistent size and appearance.
Step 2. Mix Filling Ingredients Together

Taking center stage in your preparation, the filling mixture requires a methodical combination of ingredients to achieve its ideal texture and flavor profile.
Begin by gathering your measured ingredients: the finely chopped mushroom stems, breadcrumbs, crushed walnuts, minced garlic, and fresh parsley. In a medium mixing bowl, combine these dry components with a gentle toss.
Next, you’ll incorporate the wet and seasoning elements. Drizzle the olive oil over your dry mixture while stirring continuously to ensure even distribution. Add the nutritional yeast, which provides a subtle umami note, followed by the dried thyme, salt, and black pepper.
Finally, introduce the lemon juice, which brightens the overall flavor composition. Using a spatula or your hands, thoroughly mix the ingredients until they’re well integrated and the mixture holds together when pressed.
Test the consistency by taking a small amount and gently squeezing it. If it maintains its shape, you’ve achieved the perfect texture. If it’s too dry, gradually add olive oil, one teaspoon at a time, until the desired consistency is reached.
Step 3. Fill Mushroom Caps Carefully

Proper filling technique transforms these mushroom caps from simple vessels into elegant appetizers worthy of any sophisticated gathering.
You’ll want to begin by arranging your cleaned mushroom caps on a clean work surface, cavity side up, ensuring they’re stable and won’t tip over during filling.
Take your prepared filling mixture and, using a small spoon, carefully fill each mushroom cap. Don’t rush this process – you’ll want to add the mixture gradually, pressing it gently into the cavity with your fingers or the back of the spoon to ensure it’s well-compacted.
Fill each cap slightly above the rim, creating a gentle dome effect that’ll result in an attractive presentation once baked.
As you work, wipe away any filling that may have fallen onto the outer edges of the mushrooms, keeping them pristine.
You’ll notice the filling should hold together nicely without crumbling, thanks to the olive oil’s binding properties.
If you’re preparing these in advance, arrange the filled caps on your baking sheet, cover them loosely with plastic wrap, and refrigerate until you’re ready to bake them.
Step 4. Bake Until Golden Brown

The final transformation of your stuffed mushroom caps happens during the crucial baking phase, where careful timing and temperature control will yield perfectly golden-brown treats.
Place your filled mushrooms on a parchment-lined baking sheet, ensuring they’re not touching one another to allow for even heat distribution.
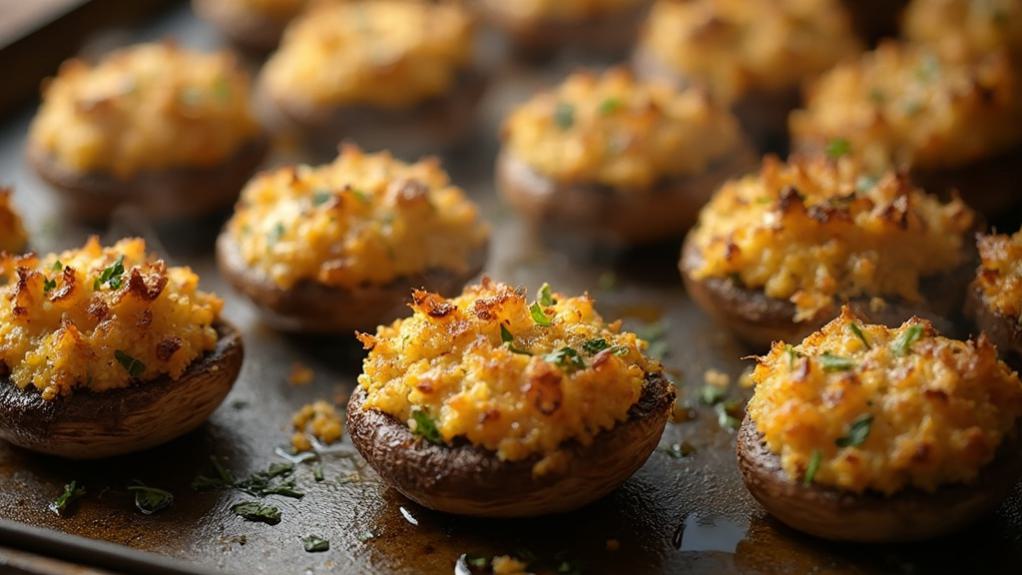
Slide the baking sheet into your preheated 375°F oven, positioning it in the middle rack for optimal heat circulation. You’ll want to bake them for 20-25 minutes, watching for telltale signs of doneness: the filling should turn a rich golden brown, and the mushroom caps will become tender and slightly wrinkled at the edges.
If you’re seeking an extra-crispy top, switch your oven to broil for the final two minutes. Keep a vigilant eye during this process, as the breadcrumb topping can quickly move from perfectly browned to burnt.
You’ll know your mushrooms are done when they’re releasing their natural juices and the filling has formed a delectable crust. Remove them from the oven and let them cool for 3-5 minutes before serving to allow the flavors to settle and prevent burning your guests’ tongues.
Step 5. Let Rest Before Serving

Resting your vegan stuffed mushroom caps proves crucial for achieving the perfect texture and preventing scalding-hot filling from burning eager palates. Once you’ve removed the mushrooms from the oven, let them rest for 5-7 minutes on the baking sheet. During this time, the filling will set properly, making it easier to transfer the appetizers to your serving platter without crumbling.
As the mushrooms cool slightly, you’ll notice they’ll release a small amount of moisture, which you’ll want to gently blot with paper towels. This step ensures your mushrooms won’t leave water marks on your serving dish.
Transfer the mushrooms carefully using a thin spatula, arranging them artfully on a pre-warmed platter. They’re best served warm, not piping hot, as this allows their complex flavors to fully develop.
If you’ve made them in advance and refrigerated them, let them come to room temperature for 15 minutes before reheating. A quick 5-minute warm-up in a 350°F oven will restore their original texture, followed by the essential resting period before serving.
Why I Love This Dish
As someone deeply passionate about plant-based cooking, I’ve fallen in love with these stuffed mushroom caps for their remarkable ability to transform simple ingredients into an elegant appetizer. The combination of earthy mushrooms with the nutty, herbaceous filling creates a perfect harmony of flavors that never fails to impress my dinner guests.
I’m particularly drawn to the versatility of this dish. The mushrooms provide an ideal vessel for experimenting with different flavor combinations, while the breadcrumb-walnut mixture offers a satisfying texture that meat-eaters and vegans alike appreciate.
I’ve found that the nutritional yeast adds a subtle umami depth that elevates these bites beyond typical stuffed mushrooms.
What I treasure most about this recipe is its practicality without sacrificing sophistication. I can prepare these in advance, making them perfect for entertaining, and they’re equally suitable for casual gatherings or formal dinner parties.
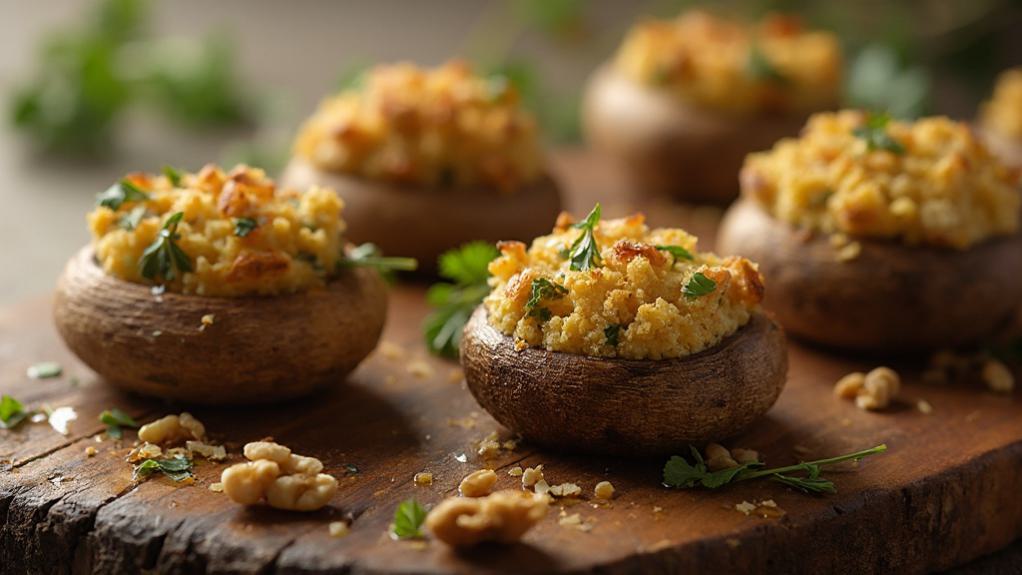
The visual appeal of these golden-brown caps, coupled with their rich aroma and delicate flavor profile, consistently reminds me why I consider this recipe a cornerstone of my entertaining repertoire.

Leave a Reply