I’ve discovered that warmth comes from comfort, comfort comes from tradition, and tradition comes from reimagining the classics. When I first adapted sticky toffee pudding into a vegan version, I wasn’t expecting to create something that would rival its conventional counterpart.
Yet here I am, sharing a dessert that captures all the indulgent qualities of the original – from its dark, date-enriched crumb to its glossy toffee coating – while remaining completely plant-based. What makes this particular recipe special isn’t just its veganized elements; it’s the story behind each carefully chosen ingredient.
Recipe
Vegan Sticky Toffee Pudding is a rich, indulgent dessert that transforms the classic British favorite into a completely plant-based treat. The natural sweetness and moisture from dates, combined with vegan butter and dairy-free cream alternatives, create the perfect foundation for this beloved pudding.
The secret to achieving the signature dark color and deep caramel flavor lies in properly soaking and blending the dates until smooth, while the flax eggs provide the necessary binding properties traditionally supplied by chicken eggs. When baked to perfection, this vegan version delivers all the comfort and decadence of the original.
- 250g pitted dates, chopped
- 300ml boiling water
- 1 tsp baking soda
- 175g self-raising flour
- 175g brown sugar
- 1 tsp vanilla extract
- 125g vegan butter
- 2 tbsp ground flaxseed
- 6 tbsp water
- 1 tsp baking powder
- 200g brown sugar (for sauce)
- 200g vegan butter (for sauce)
- 200ml plant-based cream (for sauce)
- 1 tsp vanilla extract (for sauce)
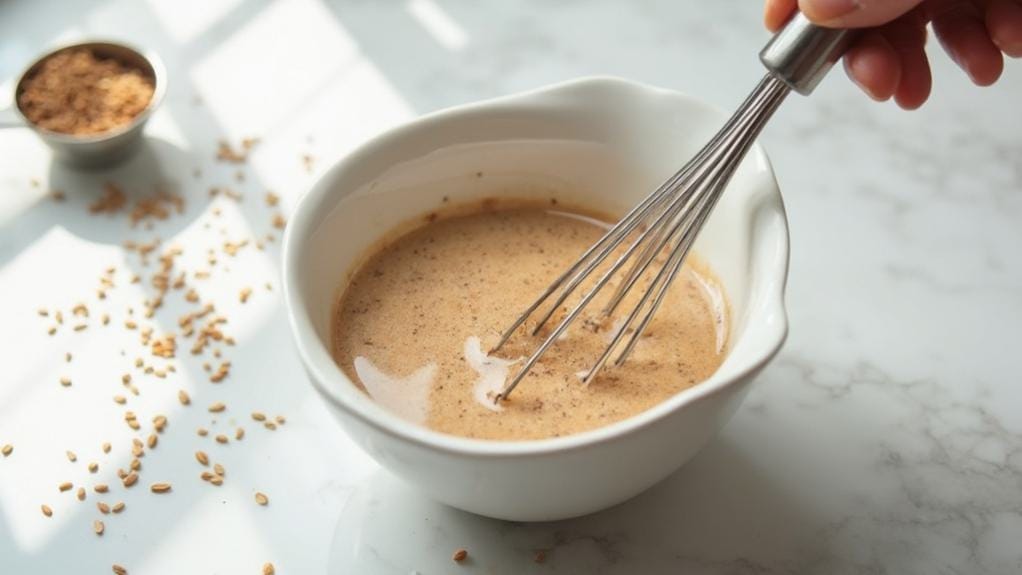
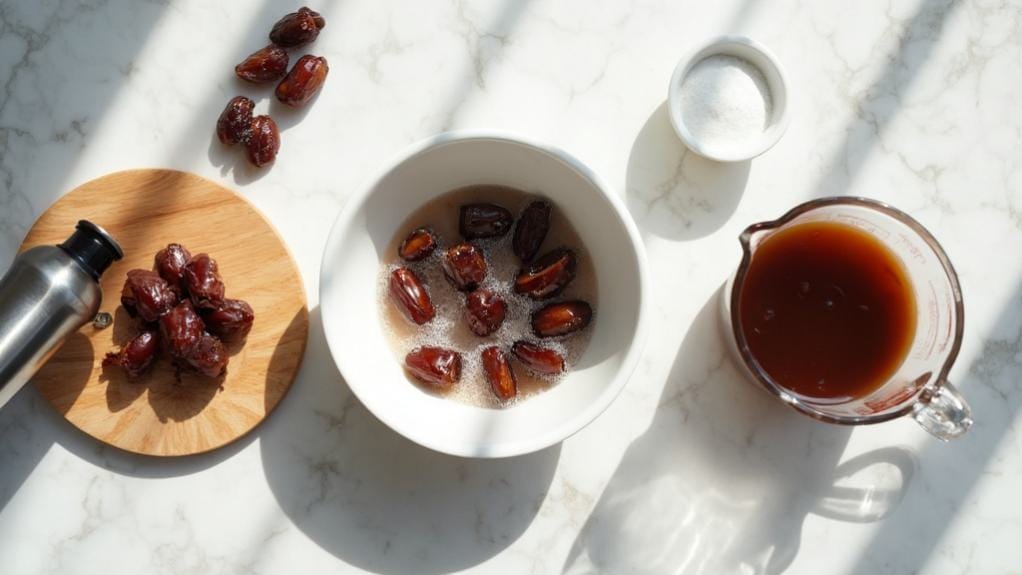
Preheat oven to 180°C/350°F and grease a baking dish. Mix ground flaxseed with water and let sit for 10 minutes to create a flax egg. In a separate bowl, soak dates in boiling water with baking soda for 20 minutes, then blend until smooth.
Cream together vegan butter and sugar until light and fluffy, then add vanilla extract and flax mixture. Gradually fold in flour and baking powder, then stir in the date mixture until well combined. Pour the batter into the prepared baking dish and bake for 30-35 minutes.
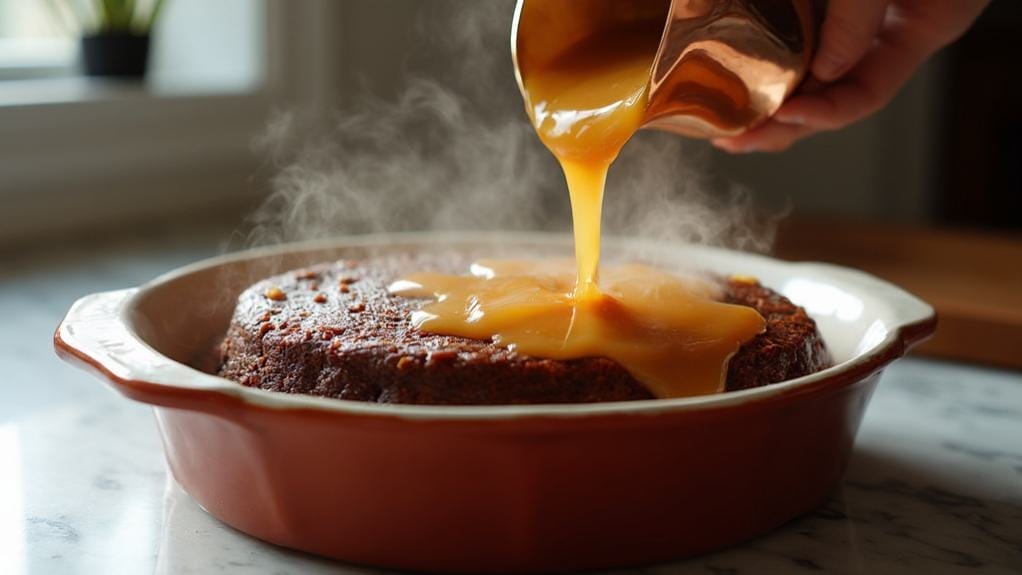
While baking, prepare the toffee sauce by melting all sauce ingredients in a pan over medium heat, stirring until smooth. Once the pudding is done, pour half the sauce over the top, reserving the remainder for serving.
Allow ingredients to reach room temperature before beginning for best results. Test the pudding’s doneness by gently pressing the surface – it should spring back slightly.
The toffee sauce may thicken upon cooling; simply reheat with a splash of plant-based milk to restore the desired consistency. Store leftover sauce in an airtight container in the refrigerator for up to one week, and the pudding can be made ahead and reheated before serving.
Step-By-Step Cooking Instructions
You’ll begin your vegan sticky toffee pudding journey by preparing the flax eggs and date mixture, which form the rich foundation of this classic dessert.
Next, you’ll cream together your wet ingredients before folding in the flour mixture, creating a perfectly balanced batter that captures the essence of traditional sticky toffee pudding.
Once you’ve transferred the batter to your baking dish, you’ll bake until golden and finish with a generous pour of warm toffee sauce, transforming your creation into an irresistibly decadent treat.
Step 1. Prepare Baking Flax Eggs

Begin by mixing 2 tablespoons of ground flaxseed with 6 tablespoons of water in a small bowl until well combined. This mixture will serve as your egg replacement, providing the essential binding properties needed for your sticky toffee pudding’s structure.
Let the mixture rest for 10 minutes, during which time it’ll develop a gel-like consistency similar to beaten eggs.
You’ll notice the flax mixture becoming increasingly viscous as it sits, transforming into a thick, slightly gelatinous texture. This reaction occurs as the soluble fiber in the flaxseeds interacts with the water, creating natural mucilage that mimics eggs’ binding properties.
For optimal results, ensure you’re using finely ground flaxseed – this allows for better absorption and a smoother final texture in your pudding.
While your flax eggs develop, you can begin preparing your other ingredients. The timing works perfectly, as the 10-minute resting period coincides with the initial steps of date preparation.
Once your flax mixture has reached the proper consistency, it’s ready to be incorporated into your pudding batter.
Step 2. Prepare Date Mixture

The heart of any sticky toffee pudding lies in its rich date mixture, which creates that signature caramel-like sweetness and moist texture.
You’ll begin by roughly chopping 250g of pitted dates into small pieces, ensuring they’ll blend more easily later. Place these fragments into a medium-sized, heat-safe bowl.
Pour 300ml of freshly boiled water over your dates, then immediately sprinkle in 1 teaspoon of baking soda. You’ll notice the mixture begin to foam slightly – this is exactly what you want. The baking soda helps soften the dates and creates a deeper, more complex flavor profile.
Let this mixture steep for 20 minutes, during which time the dates will become wonderfully soft and plump.
Transfer your soaked date mixture to a blender or food processor. Blend until you’ve achieved a smooth, velvety consistency with no visible date pieces remaining.
The mixture should be thick but pourable, with a rich brown color that’ll give your pudding its characteristic deep hue. If needed, you can blend in a splash more hot water to achieve the right consistency.
Step 3. Mix Wet Ingredients Together

With your prepared date mixture at the ready, gather the remaining wet ingredients to create the pudding’s luxuriant base. In a large mixing bowl, combine your room-temperature vegan butter with brown sugar, and cream them together until light and fluffy. This process typically takes about 3-4 minutes and creates tiny air pockets essential for the pudding’s tender crumb.
Next, retrieve your flax egg mixture, which should now have developed a gel-like consistency after its 10-minute rest. Add this to your butter-sugar mixture along with the vanilla extract, and beat until thoroughly combined. You’ll notice the mixture becoming slightly paler and more voluminous as you incorporate these elements.
Finally, fold in your cooled date mixture, ensuring it’s completely smooth from blending. The batter will take on a rich, caramel-brown hue as you incorporate the dates.
Don’t worry if the mixture looks slightly curdled – this is normal and won’t affect the final texture. The wet ingredients should now form a smooth, unified mixture that’s ready for the addition of dry ingredients.
Step 4. Add Dry Ingredients Together

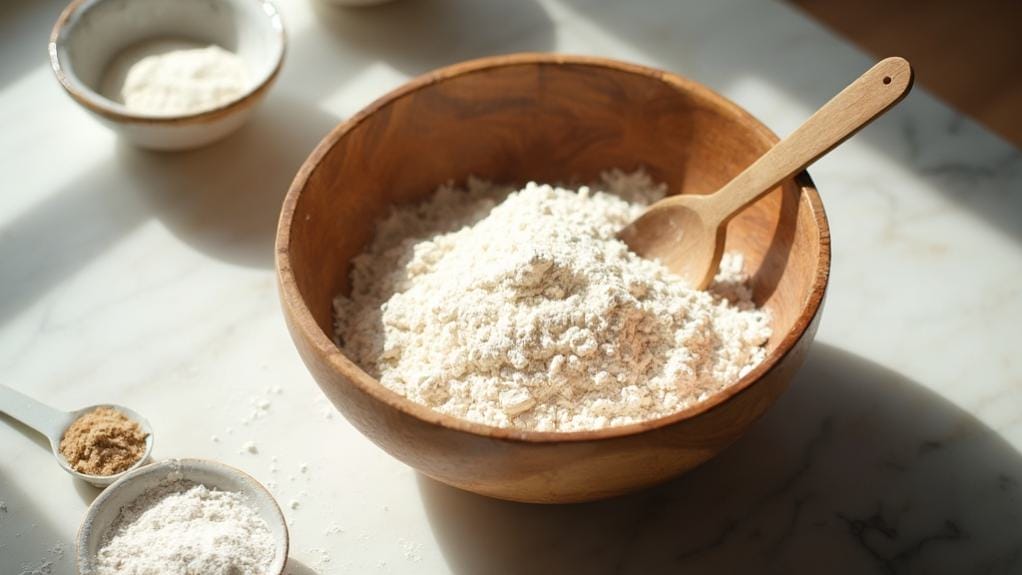
Now that your wet ingredients have come together beautifully, prepare your dry ingredients for the next phase. In a separate bowl, measure out your self-raising flour with careful precision – you’ll need exactly 175g for the perfect texture.
Add your teaspoon of baking powder, ensuring it’s level for consistent rise throughout your pudding. Using a fine-mesh sieve, sift these dry ingredients together to remove any unwanted lumps and incorporate air into the mixture.
This crucial step will help achieve that signature light, yet indulgent texture that makes sticky toffee pudding so irresistible. You’ll notice the flour becoming notably lighter and more delicate as you sift.
Take your time folding the dry ingredients into your wet mixture, using gentle, sweeping motions from bottom to top. You’ll want to maintain all that lovely air you’ve incorporated while ensuring no pockets of flour remain.
Continue this folding motion just until you see the last streaks of flour disappear – overmixing will compromise the pudding’s tender crumb. The resulting batter should be smooth, rich, and a beautiful deep caramel color.
Step 5. Bake and Pour Sauce

Moving into the most rewarding phase of your sticky toffee creation, gently pour your prepared batter into a generously greased baking dish.
Ensure you’re spreading the mixture evenly to promote uniform baking. Place the dish into your preheated 180°C/350°F oven and let it bake for 30-35 minutes, until the surface springs back lightly when touched.
While your pudding transforms in the oven, turn your attention to the luxurious toffee sauce. In a medium saucepan over gentle heat, combine your vegan butter, brown sugar, plant-based cream, and vanilla extract.
Stir consistently until the ingredients meld into a smooth, glossy sauce that coats the back of your spoon.
Once your pudding emerges from the oven, golden-brown and perfectly springy, pierce the surface several times with a skewer.
Pour half of your warm toffee sauce over the top, allowing it to seep into the holes and create pockets of caramel bliss.
Reserve the remaining sauce for serving, gently warming it just before you’re ready to present your masterpiece.
You’ll notice the pudding absorbing the sauce, becoming increasingly moist and indulgent with each passing minute.
Why I Love This Dish
I fell head over heels for this vegan sticky toffee pudding because it captures all the nostalgic comfort of the classic British dessert while aligning with my plant-based values.
The rich, caramel notes and tender crumb transport me back to cozy evenings by the fire, yet I’m delighted knowing no animal products were needed to create this indulgent experience.
What I treasure most about this version is how the dates create an incredibly moist texture while adding natural sweetness and depth.
The vegan toffee sauce, with its glossy sheen and buttery finish, cascades over the warm pudding exactly as I remember from my pre-vegan days.
I’ve served this to countless non-vegan friends who couldn’t tell the difference – and that’s precisely why I consider it a triumph.
There’s something deeply satisfying about preserving tradition while embracing progress.
Each time I make this dessert, I’m reminded that we don’t have to sacrifice our cherished food memories to make compassionate choices.
It’s become my go-to recipe when I want to show that plant-based desserts can be just as decadent and soul-warming as their conventional counterparts.

Leave a Reply