Did you know that searches for vegan holiday desserts have increased by 128% over the past five years? As a pastry chef who’s navigated both traditional and plant-based baking, I’ve discovered that creating a vegan version of classic eggnog cheesecake isn’t just possible—it’s extraordinary.
The secret lies in the magical transformation of cashews and coconut cream into a silky-smooth filling that rivals any conventional cheesecake. I’ll show you how to craft this holiday masterpiece that’ll have your guests questioning everything they thought they knew about dairy-free desserts.
Recipe
This festive vegan eggnog cheesecake transforms the classic holiday drink into a decadent dessert while maintaining a completely plant-based profile. The combination of cashews and coconut cream creates the signature smooth, creamy texture traditionally achieved with dairy products, while seasonal spices and rum extract capture the nostalgic eggnog flavor.
The dessert features a buttery graham cracker crust that provides the perfect foundation for the rich, creamy filling. This no-bake cheesecake requires minimal hands-on time but needs several hours of freezing and refrigeration to achieve its ideal consistency, making it an excellent make-ahead holiday dessert option.
- 2 cups raw cashews, soaked overnight
- 1 can full-fat coconut cream
- 1/2 cup maple syrup
- 1/4 cup coconut oil, melted
- 1 tablespoon vanilla extract
- 1 teaspoon rum extract
- 1 teaspoon ground nutmeg
- 1/2 teaspoon ground cinnamon
- 1/4 teaspoon salt
- 2 cups vegan graham crackers
- 1/3 cup vegan butter, melted
- 2 tablespoons brown sugar
Process graham crackers in a food processor until finely ground, then mix with melted vegan butter and brown sugar. Press mixture firmly into the bottom of a 9-inch springform pan and refrigerate.
Drain and rinse the soaked cashews, then blend with coconut cream, maple syrup, melted coconut oil, and extracts until completely smooth. Add nutmeg, cinnamon, and salt, blend again until incorporated, then pour over the chilled crust.
Freeze for 4 hours, then transfer to the refrigerator for 2 hours before serving. For optimal results, ensure all ingredients reach room temperature before blending, as this prevents the coconut oil from solidifying during mixing and creates the smoothest possible texture.
If making ahead, the cheesecake can be stored in the freezer for up to one month – simply transfer to the refrigerator 2-3 hours before serving. To prevent cracking, avoid sudden temperature changes when moving the cheesecake between freezer and refrigerator, and consider topping with whipped coconut cream before serving to conceal any imperfections.
Step-By-Step Cooking Instructions
You’ll need to begin your eggnog cheesecake journey by soaking the cashews overnight, ensuring they’re soft enough to create that signature smooth texture.
Start by preparing the spiced graham crust, pressing it firmly into your springform pan.
Then blend your cashew mixture with coconut cream and seasonal spices until it’s perfectly silky.
Once you’ve poured the filling over your prepared crust, the cheesecake needs to freeze for four hours before transferring to the refrigerator for its final setting period.
Step 1. Soak Cashews Overnight First
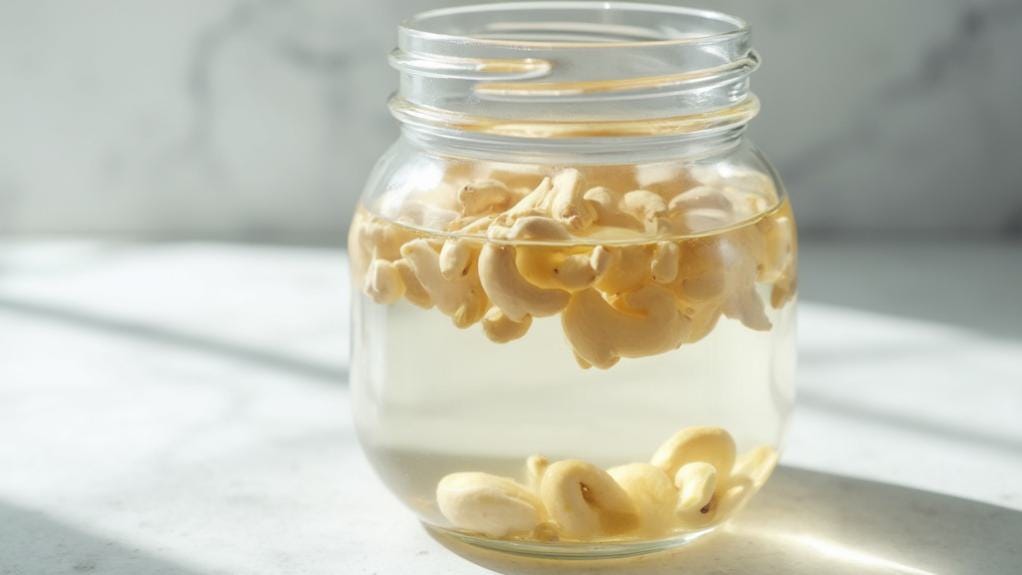
Begin your vegan eggnog cheesecake preparation the night before by placing 2 cups of raw cashews in a large bowl and covering them completely with cold water.
You’ll want to ensure there’s at least two inches of water above the cashews, as they’ll expand significantly during the soaking process. Cover the bowl with a clean kitchen towel and let it rest on your counter at room temperature for 8-12 hours.
If you’re in a time crunch, you can use a quick-soak method by pouring boiling water over the cashews and letting them soak for 2 hours.
However, the overnight method yields superior results, producing a silkier, more uniform texture in your final cheesecake. The extended soaking time softens the cashews thoroughly, allowing them to blend into an ultra-creamy consistency that perfectly mimics traditional dairy-based cheesecake.
Once your cashews have finished soaking, drain and rinse them well under cold running water.
Pat them dry with a clean kitchen towel before proceeding with your recipe. Properly soaked cashews will feel tender when pressed between your fingers and appear slightly plumper than their raw state.
Step 2. Make Spiced Graham Crust
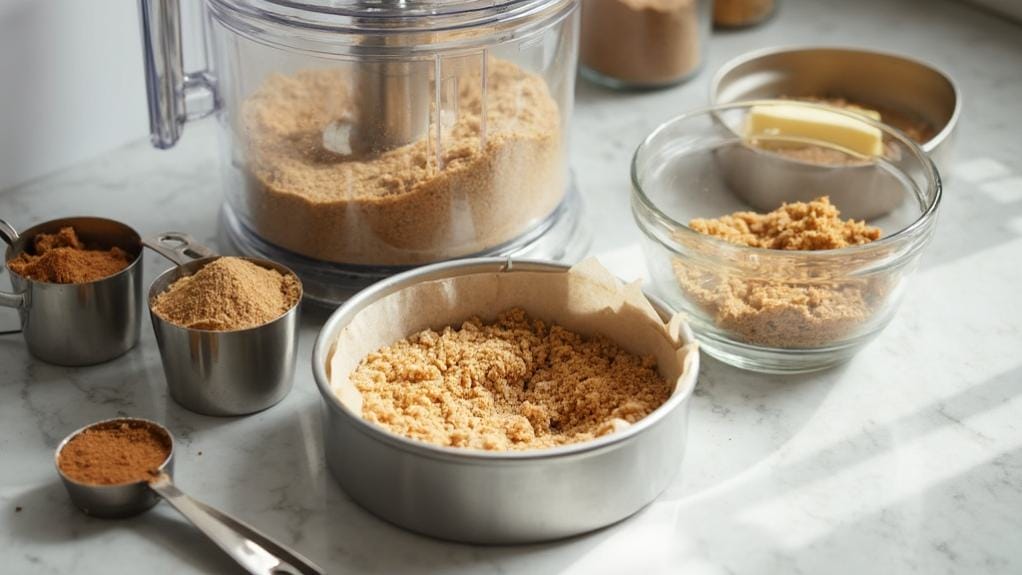
Creating a perfectly spiced graham cracker crust forms the foundation of this festive vegan cheesecake.
Begin by breaking your vegan graham crackers into smaller pieces, then pulse them in a food processor until they transform into fine crumbs. You’ll need approximately 2 cups of crumbs for an ideal 9-inch springform pan.
Transfer your graham cracker crumbs to a mixing bowl, then add the brown sugar and melted vegan butter.
Using a fork or your fingers, combine these ingredients until the mixture resembles wet sand. You’ll know it’s ready when the crumbs hold together when pressed between your fingers.
Press this aromatic mixture firmly into your springform pan, starting at the center and working your way up the sides.
Use the bottom of a flat-bottomed glass or measuring cup to compress the crust evenly – this ensures it won’t crumble when you slice the finished cheesecake.
For added stability, refrigerate your crust for 20 minutes before adding the filling. This crucial step allows the butter to solidify, creating a sturdy base for your vegan eggnog filling.
Step 3. Create Smooth Cashew Mixture
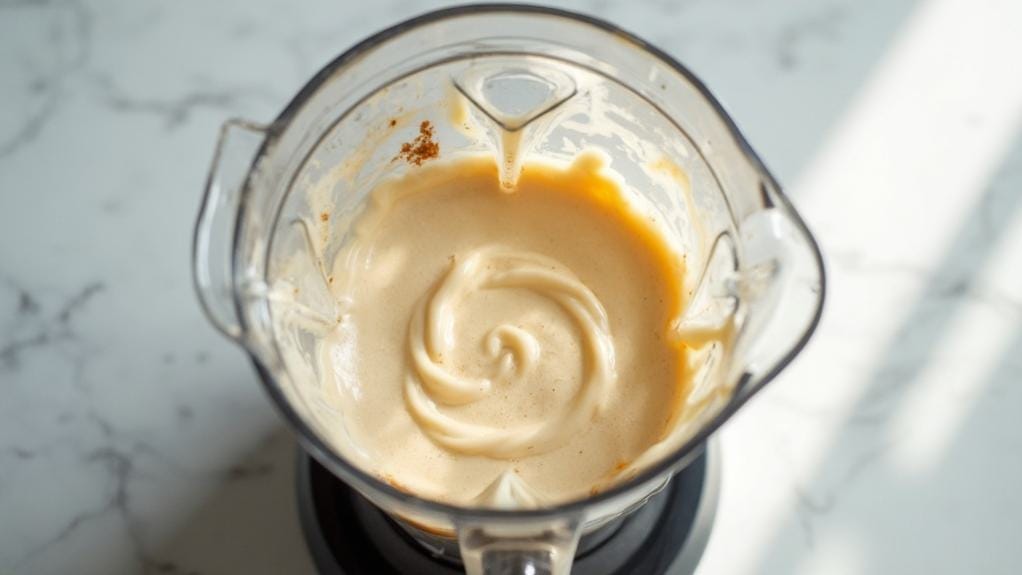
The secret to achieving silky-smooth vegan cheesecake lies in properly preparing your cashew base. Begin by draining your soaked cashews and patting them dry with a clean kitchen towel.
Add them to your high-speed blender along with the room-temperature coconut cream. Start blending on low speed, gradually increasing to high, until the mixture becomes completely smooth. You’ll want to pause occasionally to scrape down the sides of your blender.
Next, pour in the maple syrup, melted coconut oil, vanilla extract, and rum extract. Continue blending until everything’s perfectly incorporated.
Now it’s time to add your seasonal spices. Measure in the nutmeg, cinnamon, and salt, then blend again until you’ve achieved a uniform color throughout the mixture.
The final texture should be thick, creamy, and without any visible bits of cashew. If you notice any graininess, continue blending in 30-second intervals until perfectly smooth.
Once you’ve reached the ideal consistency, pour the mixture immediately over your prepared crust while it’s still fluid and easily spreadable.
Step 4. Add Filling to Pan
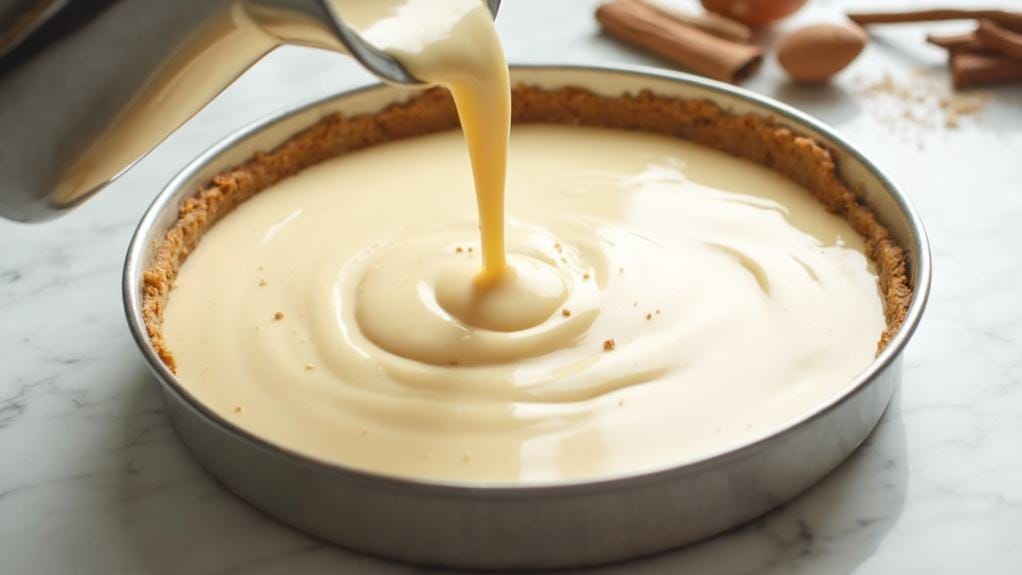
With your perfectly blended cashew mixture ready, it’s time to carefully transfer the filling into your prepared springform pan.
Pour the mixture slowly from the blender, starting from the center and working your way outward in a spiral motion. This technique helps ensure even distribution and minimizes the chance of disturbing the chilled crust beneath.
Use a rubber spatula to scrape every bit of the luxurious filling from your blender, then gently smooth the top surface until it’s perfectly level.
You’ll want to tap the pan firmly against the counter several times to release any trapped air bubbles that could mar the cheesecake’s silky texture. For an extra-smooth finish, run your spatula lightly across the top in a circular motion.
Before transferring to the freezer, check that your pan is sitting completely flat and wrap the bottom tightly with foil to prevent any moisture from seeping in.
If you notice any imperfections on the surface, now’s the time to correct them – once frozen, the texture will be set.
Your cheesecake is now ready for its crucial freezing period.
Step 5. Freeze and Serve Steps
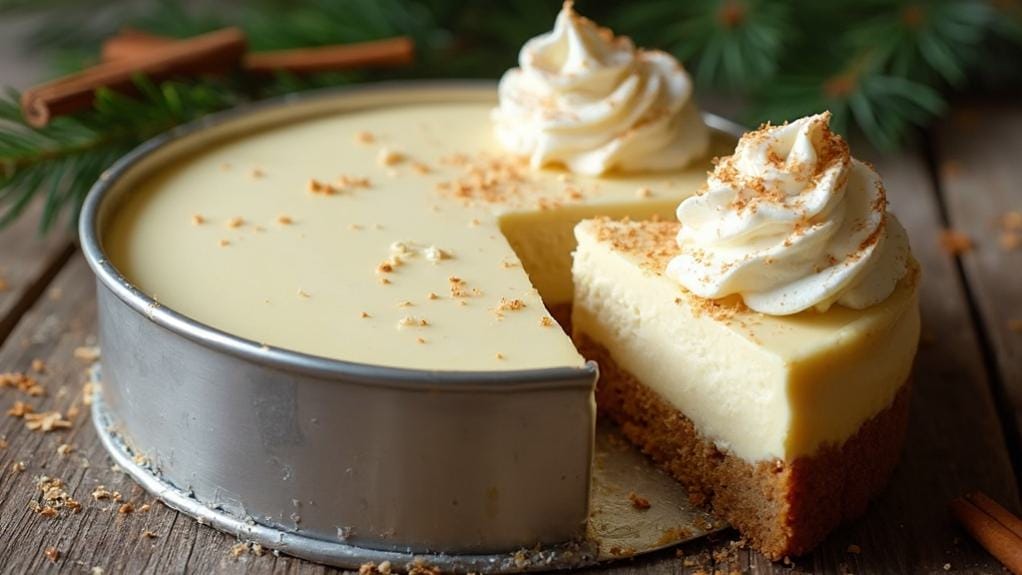
Once your cheesecake’s surface has been smoothed to perfection, you’ll begin the essential two-stage setting process.
Start by placing your springform pan in the freezer for a minimum of 4 hours, ensuring the cheesecake solidifies completely. During this time, the cashew-coconut filling will develop its signature dense, creamy texture.
After the initial freeze, transfer your cheesecake to the refrigerator for 2 hours. This crucial step allows the dessert to achieve the ideal serving consistency – firm enough to hold its shape when sliced, yet luxuriously smooth when enjoyed.
If you notice any cracks forming on the surface during the freezing process, don’t worry. Simply top your creation with a generous swirl of whipped coconut cream and a light dusting of freshly grated nutmeg.
For storage, you can keep your cheesecake in the freezer for up to one month. When you’re ready to serve, remember to thaw it in the refrigerator for 2-3 hours beforehand.
Cut your slices with a warm, sharp knife, wiping the blade clean between each cut for pristine presentation.
Why I Love This Dish
I’ve always cherished how this vegan eggnog cheesecake captures the nostalgic flavors of the holiday season while staying true to plant-based principles.
What I love most is how the cashews and coconut cream create that classic, velvety texture that’s indistinguishable from traditional cheesecake, making it a crowd-pleaser for vegans and non-vegans alike.
The warm notes of nutmeg and cinnamon, combined with hints of vanilla and rum extract, transport me back to childhood memories of sipping eggnog by the fireplace.
I’m particularly fond of how this recipe transforms those familiar flavors into an elevated dessert that’s both sophisticated and comforting.
The graham cracker crust adds that perfect buttery contrast to the creamy filling, creating a harmonious balance in every bite.
As someone who believes in conscious cooking, I take pride in serving a dessert that honors holiday traditions while being mindful of environmental and ethical considerations.
This cheesecake proves that plant-based alternatives can be just as decadent and satisfying as their conventional counterparts, making it a centerpiece-worthy addition to any festive gathering.

Leave a Reply