I’ve discovered that vegan stuffed mushrooms possess an extraordinary ability to bridge the gap between elegant dining and casual entertaining. As someone who’s prepared countless variations of this dish, I’m particularly drawn to the way fresh herbs transform simple button mushrooms into sophisticated bites that captivate both vegans and omnivores alike.
The combination of garlic-infused breadcrumbs and nutritional yeast creates an umami-rich filling that rivals traditional versions, while the golden-brown crust that forms during baking adds an irresistible textural element. Let me share my refined approach to this versatile appetizer.
Recipe
Vegan stuffed mushrooms are a delightful appetizer that combines earthy mushrooms with a savory, herb-infused breadcrumb filling. These bite-sized morsels deliver a perfect balance of textures, from the tender mushroom caps to the crispy golden topping.
The preparation is straightforward yet yields impressive results, making these stuffed mushrooms ideal for entertaining or as an elegant starter. The nutritional yeast adds a subtle cheesy flavor while keeping the dish completely plant-based, and the fresh herbs provide aromatic depth to the filling.
- 24 medium button mushrooms
- 1 cup plain breadcrumbs
- 4 cloves garlic, minced
- 1/4 cup fresh parsley, finely chopped
- 2 tablespoons fresh thyme leaves
- 3 tablespoons olive oil
- 1/2 teaspoon salt
- 1/4 teaspoon black pepper
- 1 tablespoon nutritional yeast
- 1/4 cup finely diced onion
- 2 tablespoons lemon juice
Preheat oven to 400°F. Clean mushrooms and remove stems, reserving caps. Finely chop stems and mix with breadcrumbs, garlic, parsley, thyme, 2 tablespoons olive oil, salt, pepper, nutritional yeast, and onion in a bowl until well combined. Fill each mushroom cap with the mixture, pressing gently.
Place stuffed mushrooms on a baking sheet, drizzle with remaining olive oil and lemon juice, and bake for 20-25 minutes until mushrooms are tender and tops are golden brown.
Select mushrooms of similar size for even cooking time and optimal presentation. The breadcrumb mixture should hold together when pressed; if too dry, add olive oil in small increments. Store leftover mushrooms in an airtight container in the refrigerator for up to 3 days, reheating in the oven at 350°F for 5-7 minutes to restore crispiness.
For extra flavor, sprinkle additional nutritional yeast over the mushrooms just before serving.
Step-By-Step Cooking Instructions
When preparing these elegant stuffed mushrooms, you’ll begin by gathering your ingredients and equipment, ensuring everything from the fresh herbs to the baking sheet is ready for use.
You’ll then clean and stem the mushrooms before combining the breadcrumbs with seasonings, creating a savory mixture that perfectly complements the natural earthiness of the fungi.
Finally, you’ll fill each mushroom cap with the herbed mixture and bake them until they achieve a beautiful golden-brown crust, transforming simple button mushrooms into sophisticated appetizers.
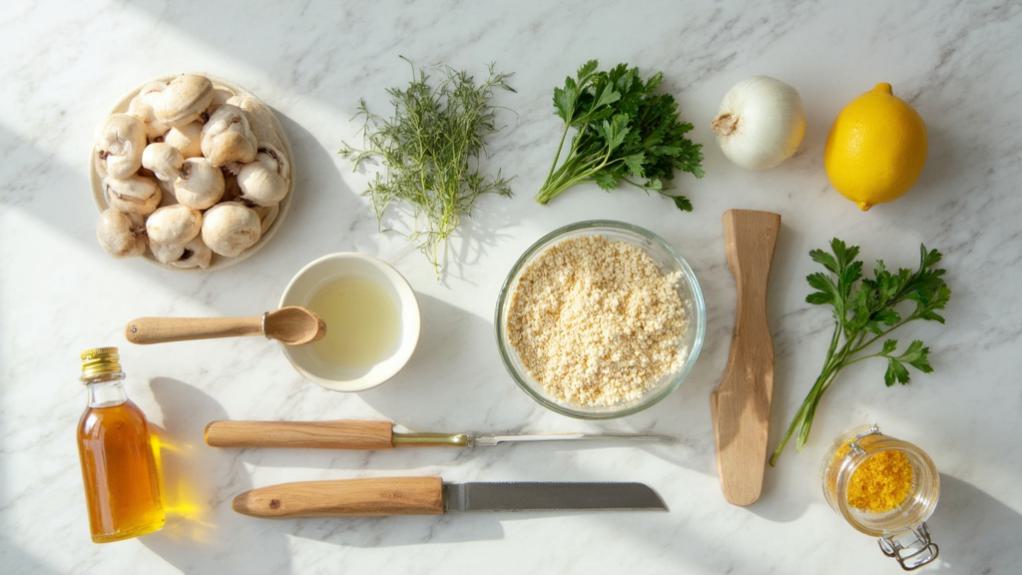
Step 1. Collect Ingredients and Tools

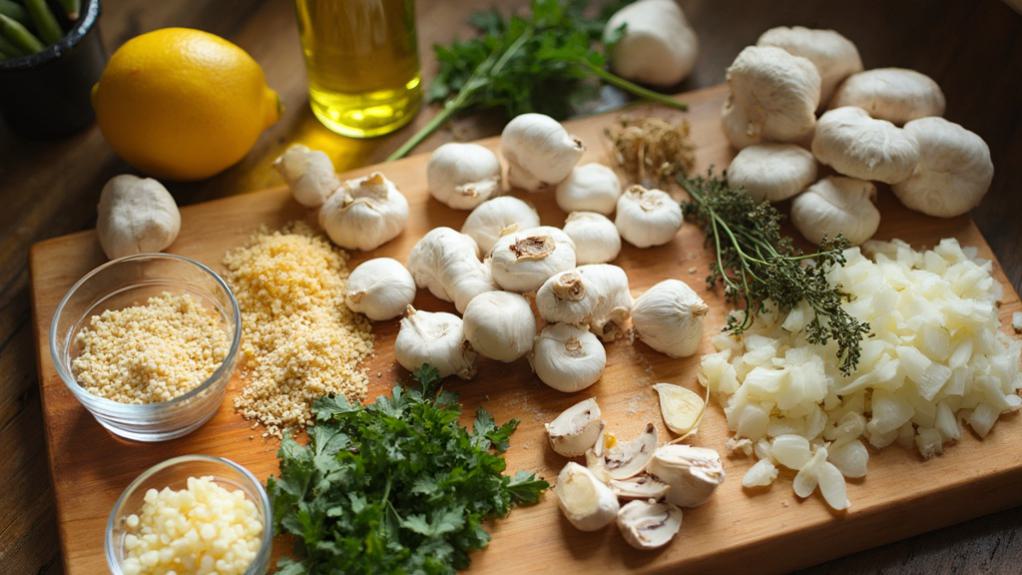
Before embarking on this elegant appetizer, gather every component needed for success: 24 medium button mushrooms, breadcrumbs, fresh herbs (parsley and thyme), garlic cloves, olive oil, nutritional yeast, onion, and lemon.
You’ll want to ensure your equipment is ready as well. Set out a large baking sheet, preferably with a non-stick surface or lined with parchment paper. You’ll need a sharp knife for removing mushroom stems and chopping herbs, a cutting board, and mixing bowls for combining ingredients. A garlic press will make mincing garlic easier, though it’s not essential.
For measuring, collect your measuring cups and spoons: you’ll need 1-cup, 1/4-cup, and tablespoon measurements. A small spoon for filling the mushroom caps will prove invaluable.
Consider having extra olive oil on hand, as you might need it to achieve the perfect consistency in your breadcrumb mixture. Don’t forget to clear adequate counter space for prep work and ensure your oven rack is positioned in the middle for optimal heating.
Step 2. Prepare Mushrooms and Seasonings

With ingredients and tools at the ready, let’s begin the methodical process of preparing these savory morsels.
First, you’ll need to gently clean each mushroom with a damp paper towel, removing any dirt or debris. Carefully twist and pull the stems from the caps, setting the caps aside for filling.
Take the stems and finely chop them to incorporate into your stuffing mixture.
In a medium mixing bowl, combine your breadcrumbs, minced garlic, and finely chopped onion.
Add the freshly chopped parsley and thyme leaves, ensuring they’re evenly distributed throughout the mixture.
Sprinkle in the nutritional yeast, salt, and pepper, then drizzle with two tablespoons of olive oil.
Add your finely chopped mushroom stems to this aromatic mixture.
Using a fork or your hands, thoroughly blend all ingredients until they’re well combined and the mixture holds together when lightly pressed.
If it’s too dry, add small amounts of olive oil until you achieve the desired consistency.
Your stuffing should be moist enough to hold its shape but not wet or pasty.
Step 3. Mix Stuffing Ingredients Together

The art of mixing your stuffing ingredients requires a delicate balance of textures and seasoning.
Begin by combining your finely chopped mushroom stems with the breadcrumbs in a medium mixing bowl, ensuring they’re evenly distributed.
Add the minced garlic, being careful not to overwhelm the mixture with any large pieces that might remain raw during baking.
Incorporate the fresh parsley and thyme leaves, distributing them thoroughly throughout the mixture.
You’ll want to drizzle the olive oil gradually while stirring, allowing it to coat all ingredients evenly.
Add the salt, pepper, and nutritional yeast, which provides a subtle umami flavor that complements the mushrooms perfectly.
Fold in the diced onion, ensuring it’s distributed uniformly throughout the mixture.
Test the consistency by gently squeezing a small amount in your palm – it should hold together without being wet or crumbly.
If it’s too dry, add olive oil a teaspoon at a time until you achieve the proper texture.
The final mixture should be moist enough to hold its shape when pressed into the mushroom caps, yet loose enough to create a light, crispy top layer during baking.
Step 4. Fill Mushroom Caps

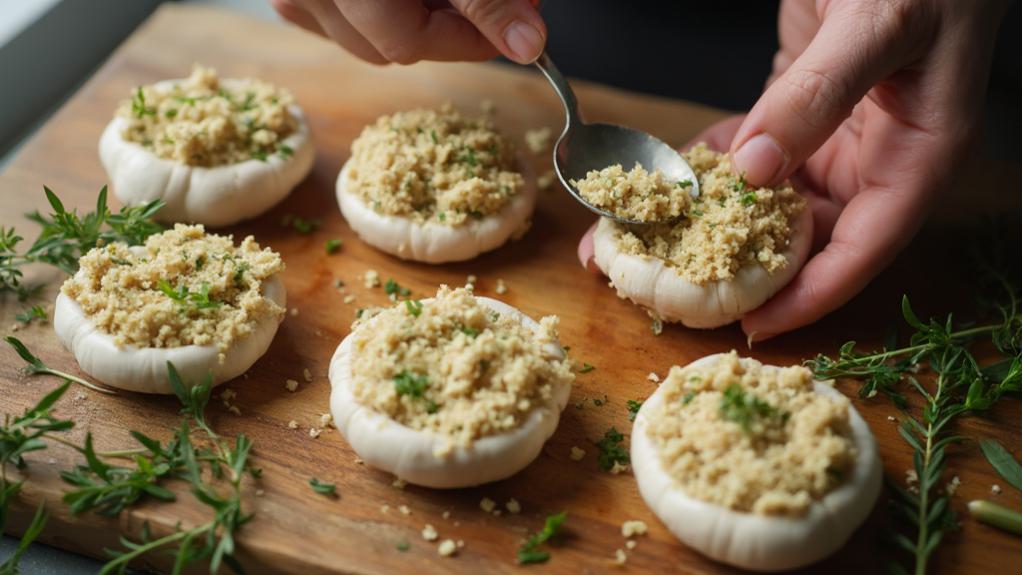
Filling mushroom caps requires a methodical approach to achieve professional-looking results. Start by arranging your cleaned mushroom caps on a lined baking sheet, ensuring they’re positioned with the cavity facing upward.
You’ll want to work systematically from left to right to maintain consistency in your presentation.
Take your prepared breadcrumb mixture and use a small spoon to fill each cap generously, working the stuffing into the cavity with gentle pressure. Don’t overfill the caps; instead, create a slightly mounded top that’s firmly packed but doesn’t spill over the edges.
As you work, rotate the baking sheet to ensure you’re filling each mushroom at the optimal angle.
Once you’ve filled each cap, inspect your work and adjust any uneven mounds. Press your finger gently around the edges of each filled cap to secure any loose crumbs and create a neat appearance.
Finally, drizzle the stuffed caps with the remaining olive oil and lemon juice, ensuring each mushroom receives an even coating. This final touch not only adds flavor but also helps achieve that coveted golden-brown crust during baking.
Step 5. Bake Until Golden Brown

Preparing to transform your assembled mushrooms into golden-brown delicacies, preheat your oven to 400°F (200°C) and position a rack in the center.
While the oven heats, arrange your stuffed mushrooms on a lightly oiled baking sheet, ensuring they’re spaced about an inch apart to promote even browning.
Drizzle the remaining olive oil and fresh lemon juice over the stuffed caps, allowing the liquid to gently coat the breadcrumb mixture. This final touch will help achieve that coveted golden-brown crust while keeping the mushrooms moist.
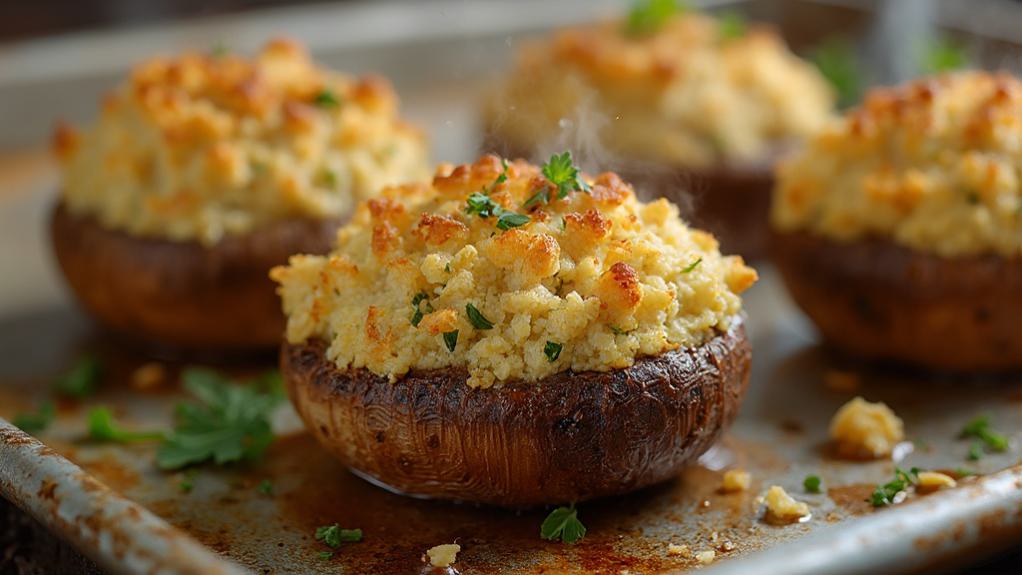
Place the baking sheet in the preheated oven and let them bake for 20-25 minutes, until you notice the tops becoming crispy and amber-colored.
You’ll know they’re done when the mushroom caps have become tender and slightly wrinkled, while the breadcrumb topping has developed a rich, golden-brown hue.
If needed, broil for the final minute to achieve perfect browning, but watch carefully to prevent burning.
Remove from the oven and let them rest for 2-3 minutes before transferring to a serving platter, allowing the filling to set slightly.
Why I Love This Dish
Beyond their elegant presentation, these herbed vegan stuffed mushrooms have captured my heart for their remarkable versatility and crowd-pleasing charm.
I’ve served them at intimate dinner parties and large gatherings alike, where they’ve consistently drawn admiration from both plant-based enthusiasts and traditional food lovers.
What I particularly cherish about this dish is its ability to transform humble button mushrooms into sophisticated appetizers that rival any restaurant offering.
I’m continually amazed by how the earthy mushroom caps provide the perfect vessel for the crispy, herb-infused breadcrumb filling. The nutritional yeast adds a subtle umami depth that many guests can’t quite place but invariably enjoy.
I’ve found these stuffed mushrooms to be incredibly adaptable to different occasions.
They’re equally at home at a casual game night as they’re at an upscale cocktail party.
As someone who loves to entertain, I appreciate that I can prepare them in advance and simply pop them in the oven when guests arrive.
The aroma of garlic and fresh herbs that fills my kitchen as they bake never fails to create an inviting atmosphere.

Leave a Reply