I’ve always believed that holiday entertaining should be both visually stunning and effortlessly achievable, which is why I’m drawn to my Festive Hummus Wreath recipe. When I first created this centerpiece, I wanted to transform the humble Mediterranean spread into something that would spark conversation at any gathering.
The wreath’s circular design, inspired by traditional holiday decorations, combines the creamy richness of homemade hummus with the vibrant colors of fresh vegetables. It’s a dish that proves healthy appetizers don’t need to sacrifice style or taste, and I can’t wait to share how you can master this showstopper.
Recipe
The Festive Hummus Wreath transforms an everyday Mediterranean dip into a stunning holiday centerpiece that’s perfect for entertaining. This completely plant-based appetizer combines creamy homemade hummus with fresh, crisp vegetables arranged in a wreath-like pattern that brings visual drama to any festive table setting.
This recipe creates a generously sized wreath that can serve 12-15 guests as an appetizer. The base is a classic hummus made from scratch, which provides a smooth, rich foundation for the colorful vegetable arrangements. The final presentation mimics a traditional Christmas wreath while offering a healthy, crowd-pleasing option suitable for various dietary preferences.
- 2 (15 oz) cans chickpeas, drained and rinsed
- 3 cloves garlic
- 1/4 cup tahini
- 1/4 cup fresh lemon juice
- 1/2 teaspoon ground cumin
- 1/2 cup extra virgin olive oil
- Salt to taste
- 2 cups cherry tomatoes
- 2 cups baby carrots
- 1 large cucumber, sliced
- 2 red bell peppers, cut into strips
- 2 cups broccoli florets
- 1 bunch fresh parsley
- 6-8 sprigs fresh rosemary
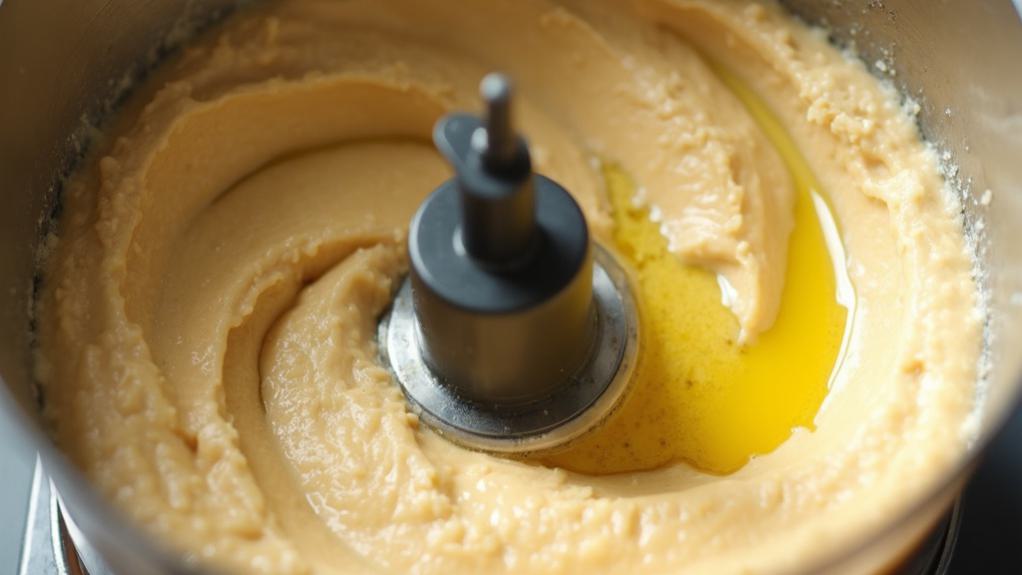
In a food processor, combine drained chickpeas, garlic, tahini, lemon juice, and cumin, processing until smooth. With the machine running, gradually stream in olive oil until the mixture reaches a creamy consistency. Season with salt to taste.
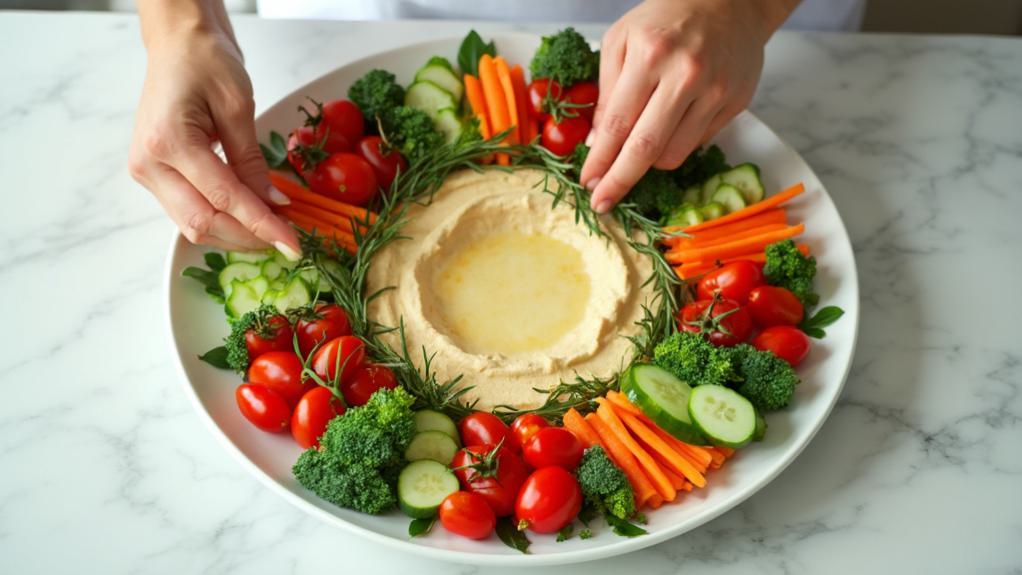
On a large round serving platter, spread the hummus in a ring shape, creating a wreath-like formation approximately 2 inches wide. Arrange the vegetables in clusters around and on top of the hummus ring, alternating colors and textures. Tuck rosemary sprigs and parsley springs between vegetable groupings to create the appearance of evergreen foliage.
For optimal results, rinse the chickpeas thoroughly and remove their skins for the smoothest hummus texture. The hummus can be prepared up to two days in advance and stored in an airtight container in the refrigerator, but assemble the wreath no more than two hours before serving.
Keep the vegetables crisp by patting them dry with paper towels before arranging. If serving outdoors or for an extended period, consider placing the platter on a bed of ice to maintain freshness.
Step-By-Step Cooking Instructions
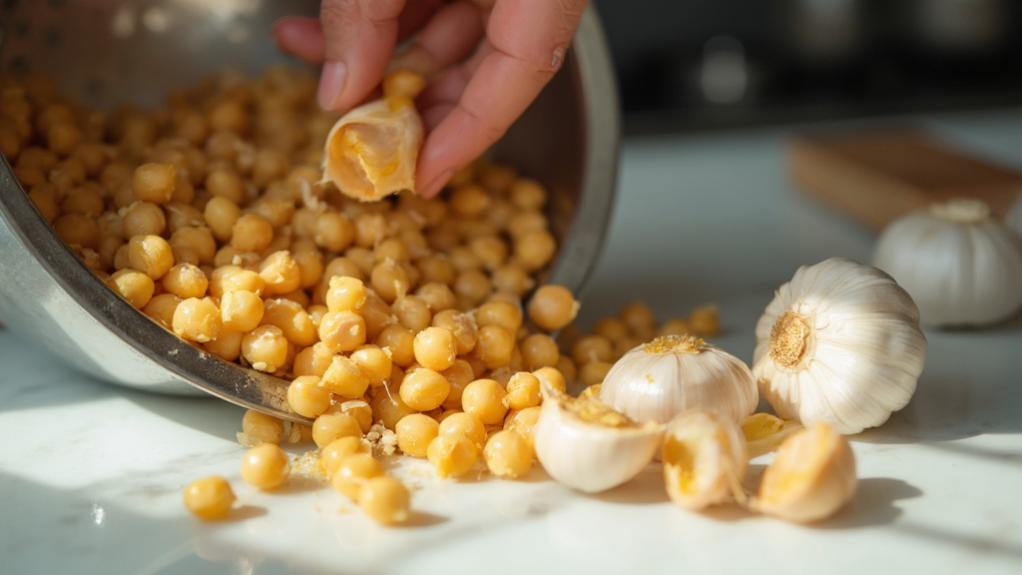
You’ll begin your hummus wreath by draining and rinsing your chickpeas, then combining them with fresh garlic cloves in your food processor.
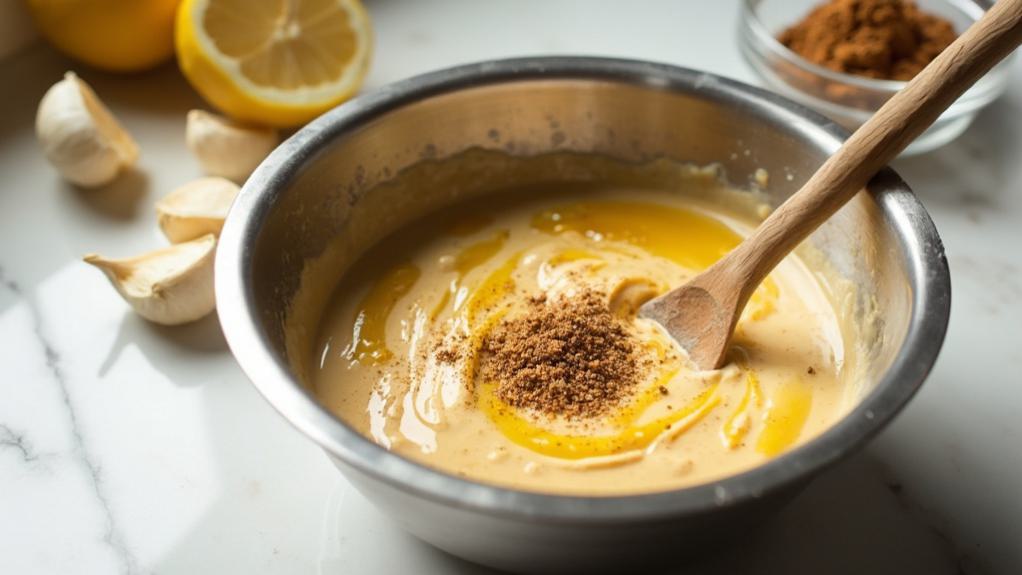
Next, you’ll add your tahini, lemon juice, cumin, and olive oil, processing until you’ve achieved a silky-smooth consistency.
Finally, you’ll spread your hummus in a ring formation on your serving platter, artfully arranging the colorful vegetables and herbs to create your wreath’s festive appearance.
Step 1. Prepare Chickpeas and Garlic

Begin with draining and rinsing two cans of chickpeas thoroughly under cool running water to remove any excess sodium.
Place the rinsed chickpeas in a colander and shake gently to remove any loose skins, as these can affect the smoothness of your hummus.
Pat the chickpeas dry with a clean kitchen towel to ensure they’ll blend properly.
Peel three cloves of fresh garlic, removing any green sprouts which can add bitterness.
You’ll want to crush the garlic cloves with the flat side of your knife first – this helps release their essential oils and makes them easier to process.
If you’d prefer a milder garlic flavor, you can blanch the peeled cloves in boiling water for 30 seconds before using them.
For the smoothest possible hummus, you’ve got two options: either process the chickpeas while they’re still slightly warm, or remove the individual skins from each chickpea.
While the second method is more time-consuming, it’ll give you that silky-smooth restaurant-style texture that’s perfect for creating an elegant holiday presentation.
Step 2. Mix Tahini and Spices

Ready to elevate your hummus to the next level? Now that your chickpeas and garlic are prepared, it’s time to incorporate the rich, nutty flavors that’ll make your hummus wreath truly exceptional.
In a small bowl, measure out 1/4 cup of tahini and give it a thorough stir to ensure it’s well-blended, as tahini naturally separates during storage.
Add the tahini to your food processor along with 1/4 cup fresh lemon juice, allowing these two ingredients to combine for about 30 seconds until they form a smooth, light mixture. You’ll notice the tahini becoming lighter in color and fluffier in texture.
Next, sprinkle in 1/2 teaspoon of ground cumin, which adds warmth and depth to your hummus. Don’t forget to season with salt to taste – start with 1/2 teaspoon and adjust as needed.
Process these ingredients until they’re fully incorporated, scraping down the sides of the bowl as necessary. The mixture should look pale and creamy at this stage.
You’re now ready to combine this flavorful base with your prepared chickpeas and garlic for the next step.
Step 3. Process Until Smooth

The crucial blending stage transforms your seasoned ingredients into silky-smooth hummus. Start by adding your drained chickpeas, minced garlic, tahini mixture, and cumin to your food processor’s bowl. Secure the lid tightly to prevent any spillage during processing.
Pulse the mixture several times to break down the chickpeas, then let the processor run continuously for about 2 minutes. You’ll need to stop occasionally to scrape down the sides with a rubber spatula, ensuring all ingredients incorporate evenly.
While the machine’s running, slowly drizzle in your olive oil through the feed tube in a steady stream. Continue processing until you’ve achieved a perfectly smooth consistency, typically another 1-2 minutes.
If your hummus seems too thick, add small amounts of the reserved chickpea liquid, one tablespoon at a time, until you reach your desired texture. The finished hummus should be completely smooth, without any graininess, and hold its shape when spread.
You’ll know it’s ready when it’s light, airy, and forms gentle peaks when touched with a spoon.
Step 4. Arrange Wreath Formation

Once your hummus reaches its silky-smooth consistency, spoon it onto a large round serving platter, working from the outer edge inward to create a circular wreath shape about 2 inches wide.
Leave a generous opening in the center, ensuring your wreath has a well-defined ring shape. Use the back of your spoon to create subtle swirls in the hummus surface, adding visual interest.
Begin arranging your vegetable dippers by placing larger items like broccoli florets and bell pepper strips around the outer edge of the hummus ring.
Layer in baby carrots and cucumber slices, positioning them at slight angles to create movement and depth. Nestle cherry tomatoes throughout the arrangement, using their bright red color as accent points.
Tuck small sprigs of fresh parsley between the vegetables to fill any gaps.
Finally, position fresh rosemary sprigs strategically around the wreath to mimic evergreen branches.
You’ll want to place them both on the inner and outer edges of the hummus ring. Stand back occasionally as you work to ensure your wreath maintains a balanced, symmetrical appearance from all viewing angles.
Step 5. Add Vegetable Garnishes

Starting with the most vibrant vegetables, arrange cherry tomatoes in small clusters around the hummus wreath, spacing them evenly to create focal points of bright red color.
Next, place strips of yellow and red bell peppers between the tomato clusters, allowing them to fan out slightly for an artistic effect.
Continue building your wreath by adding cucumber slices in overlapping patterns, creating a pleasing green contrast to the red elements.
Position baby carrots in small groupings of three, pointing them outward like rays of sunshine.
Tuck fresh broccoli florets into any remaining spaces, ensuring they’re cut to similar sizes for uniformity.
As you complete the vegetable arrangement, strategically place sprigs of fresh rosemary around the wreath’s outer edge to mimic traditional pine branches.
Finish by sprinkling chopped fresh parsley over the hummus and nestling a few whole parsley leaves between the vegetables.
Don’t overcrowd the design – it’s important to let each vegetable group stand out while maintaining the wreath’s circular shape.
Stand back occasionally as you work to ensure your garnishes are evenly distributed and the overall presentation remains balanced.
Why I Love This Dish
As someone who loves entertaining, I’m absolutely smitten with this Festive Hummus Wreath for its perfect blend of practicality and visual drama.
I’ve found that it consistently draws admiring comments from guests while solving several party-planning challenges at once.
What I particularly love is how this dish allows me to accommodate various dietary preferences without making a fuss. It’s naturally vegetarian, vegan, and gluten-free, yet appeals to everyone.
The make-ahead aspect is another game-changer – I can prepare the hummus the day before and simply arrange the vegetables just before guests arrive.
I’m also impressed by how this presentation elevates humble hummus into a conversation piece. The wreath format

Leave a Reply