While some might dismiss vegan desserts as mere substitutes for traditional treats, I’ve discovered that Cranberry Bliss Bars offer something uniquely captivating in their own right. As a professional baker, I’ve spent years perfecting this festive creation that marries tart cranberries with warm ginger notes and a decadent cream cheese frosting—all without any animal products.
The magic lies not just in replicating a coffee shop favorite, but in elevating it to new heights through carefully chosen ingredients and precise techniques that I’m about to share.
Recipe
Cranberry Bliss Bars transform a beloved holiday treat into a completely plant-based delight, delivering all the comforting flavors of the original without any animal products. The combination of warming ginger, tart cranberries, and sweet white chocolate creates a harmonious blend that captures the essence of festive baking.
These vegan bars start with a tender blondie base, spiced with ginger and generously studded with dried cranberries. The creamy vegan cream cheese frosting adds a luxurious layer, while the finishing touches of white chocolate drizzle and additional cranberries create a professional bakery-style appearance that’s sure to impress at any holiday gathering.
- 2 cups all-purpose flour
- 1 teaspoon baking powder
- 1/2 teaspoon salt
- 1 teaspoon ground ginger
- 1 cup vegan butter
- 1 cup brown sugar
- 1/4 cup plant-based milk
- 2 teaspoons vanilla extract
- 1 cup dried cranberries
- 8 oz vegan cream cheese
- 2 cups powdered sugar
- 1/2 cup vegan white chocolate chips
- Additional cranberries for topping
Preheat oven to 350°F and line a 9×13 inch pan with parchment paper. In a large bowl, whisk together flour, baking powder, salt, and ginger. In a separate bowl, cream vegan butter and brown sugar until light and fluffy, then mix in plant-based milk and vanilla.
Combine wet and dry ingredients until just incorporated, fold in cranberries, and spread into prepared pan. Bake for 25-30 minutes until golden brown. Once completely cooled, beat vegan cream cheese with powdered sugar until smooth and spread over bars. Melt white chocolate chips, drizzle over frosting, and top with additional cranberries. Refrigerate until set.
For optimal results, bring all ingredients to room temperature before beginning, especially the vegan butter and cream cheese. If the white chocolate seems too thick for drizzling, add a teaspoon of coconut oil while melting.
Store finished bars in an airtight container in the refrigerator for up to 5 days, though they’re best enjoyed within the first 3 days. To achieve clean cuts, use a sharp knife warmed under hot water and wiped dry between slices.
Step-By-Step Cooking Instructions
You’ll want to start by whisking together your wet ingredients in one bowl while combining the dry ingredients in another until they’re thoroughly mixed.
Next, you’ll gently fold the wet mixture into the dry ingredients just until incorporated, then transfer your batter to a prepared baking pan.
Once your bars have cooled completely, you’ll finish them with a layer of vegan cream cheese frosting, a drizzle of melted white chocolate, and a sprinkle of dried cranberries.
Step 1. Mix Wet Ingredients Together
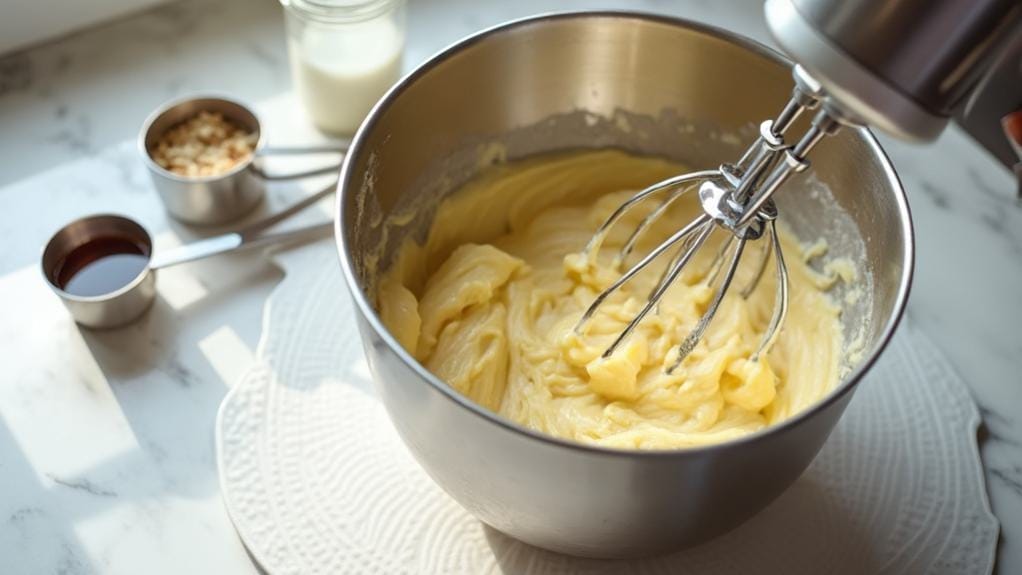
Begin by combining the softened vegan butter and brown sugar in a large mixing bowl, creaming them together until light and fluffy. You’ll want to mix for about 3-4 minutes, ensuring the sugar fully incorporates with the butter and creates a smooth, creamy consistency.
Next, pour in your plant-based milk and vanilla extract. It’s essential that your milk is at room temperature to prevent the mixture from curdling or becoming grainy. Mix these wet ingredients until they’re well combined, but don’t overmix – about 1-2 minutes should do it.
As you’re mixing, you might notice the mixture looking slightly separated at first. Don’t worry – this is normal with plant-based ingredients. Keep mixing until everything comes together into a uniform, silky consistency. You’ll know you’ve reached the right texture when the mixture is smooth and there aren’t any visible streaks of butter or liquid.
Scrape down the sides of your bowl with a rubber spatula to ensure all ingredients are thoroughly incorporated before moving on to the next step. Your wet mixture should now be ready to combine with your dry ingredients.
Step 2. Mix Dry Ingredients Separately
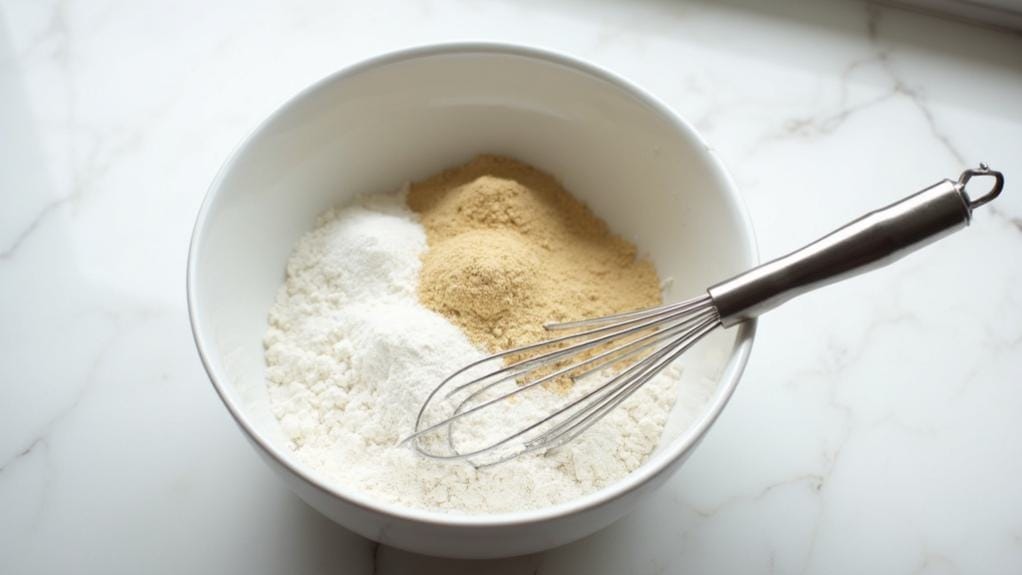
While your wet ingredients rest, gather your dry ingredients in a separate medium bowl. You’ll need your all-purpose flour, baking powder, salt, and ground ginger for this step.
Using a medium-sized whisk, you’ll create a well-blended mixture that will form the foundation of your blondie base.
Start by measuring out your 2 cups of flour, ensuring you’re using the proper technique – spoon the flour into the measuring cup and level it off with a straight edge rather than scooping directly from the flour bag.
Add your teaspoon of baking powder, which will give your bars their perfect lift and texture. Next, incorporate the half teaspoon of salt, which will balance the sweetness and enhance the overall flavor profile.
Finally, add the teaspoon of ground ginger – this warming spice is crucial for achieving that signature Cranberry Bliss flavor.
Whisk all these dry ingredients together until they’re thoroughly combined and no streaks of individual components remain visible. Your dry mixture should now have a uniform, pale golden color and be free of any lumps.
Step 3. Combine Wet and Dry Mixtures
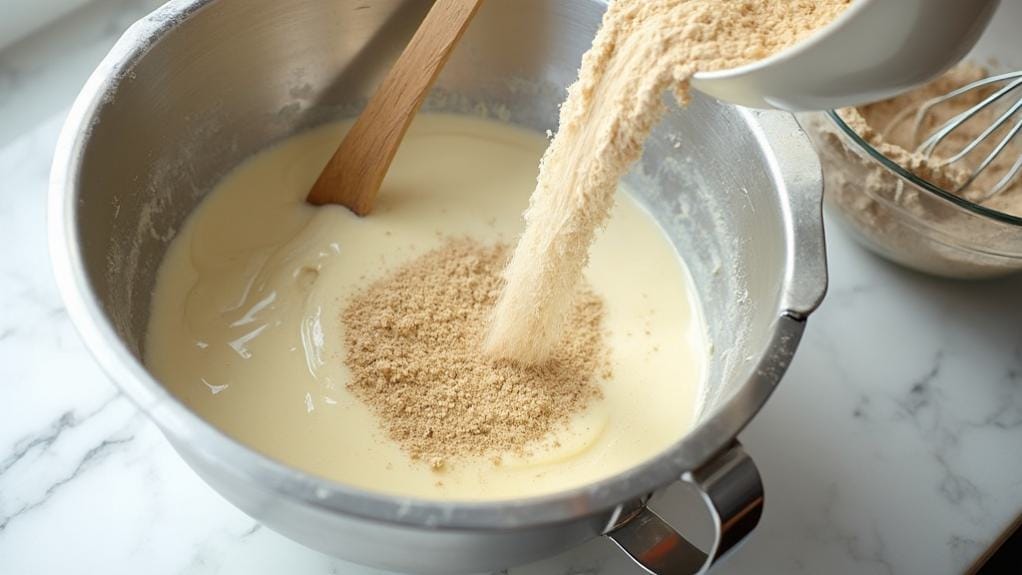
The heart of your Cranberry Bliss Bars comes together as the wet and dry ingredients meet. Pour your creamed vegan butter mixture into the center of your flour blend, creating a small well in the middle.
Using a rubber spatula, fold the ingredients together with gentle, sweeping motions from the bottom up, working your way around the bowl.
Continue folding until you see the last streaks of flour disappearing, but don’t overmix – you’ll want to stop just as the batter becomes uniform. The mixture should be thick and slightly sticky, with a golden hue from the brown sugar.
Now’s the time to incorporate your dried cranberries, distributing them evenly throughout the batter with just a few more folds.
You’ll know you’ve achieved the right consistency when the batter holds its shape but still spreads easily when transferred to your prepared pan. If it seems too thick, add a tablespoon of plant-based milk. If it’s too loose, sprinkle in a touch more flour.
The key is maintaining a balance that will yield bars that are perfectly dense yet tender.
Step 4. Pour Into Baking Pan
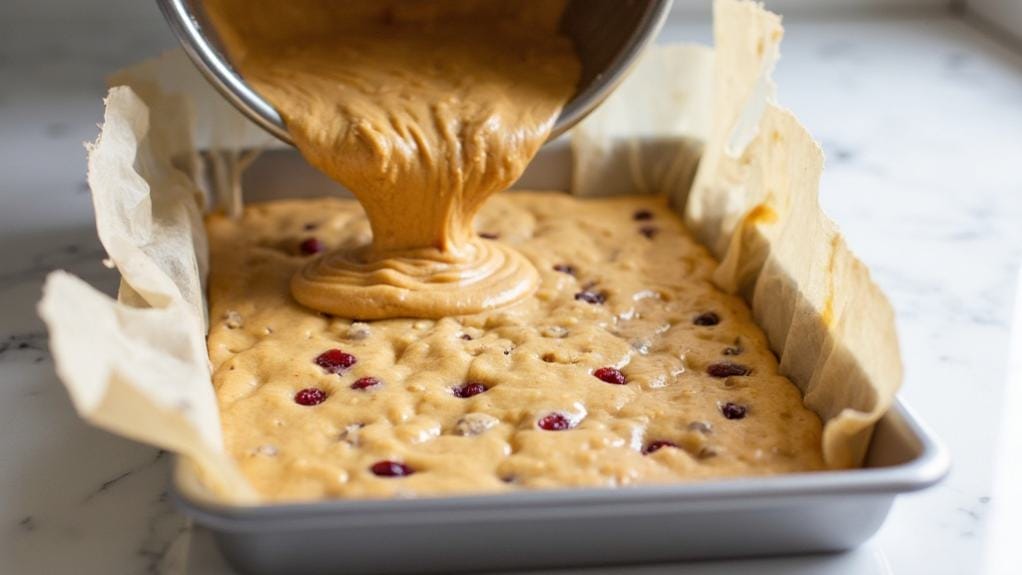
With your prepared batter waiting, transfer it into your parchment-lined 9×13 inch baking pan, ensuring the paper extends slightly up the sides for easy removal later.
Using a rubber spatula, gently spread the mixture evenly across the pan, reaching all corners to create a uniform layer. Don’t rush this step – take your time to achieve a smooth, level surface.
If you’re finding the batter a bit sticky, lightly dampen your spatula with water to prevent it from clinging. Pay special attention to the corners, where batter tends to accumulate unevenly.
Once spread, give the pan a few gentle taps on the counter to release any trapped air bubbles that could affect the texture of your finished bars.
For picture-perfect results, run your spatula lightly across the top one final time, creating a pristine surface that’ll bake into an even golden brown.
You’ll want the batter to sit about 1-inch thick throughout the pan, which ensures consistent baking and the ideal ratio of blondie to frosting once completed. Your pan is now ready for the oven.
Step 5. Add Toppings After Cooling
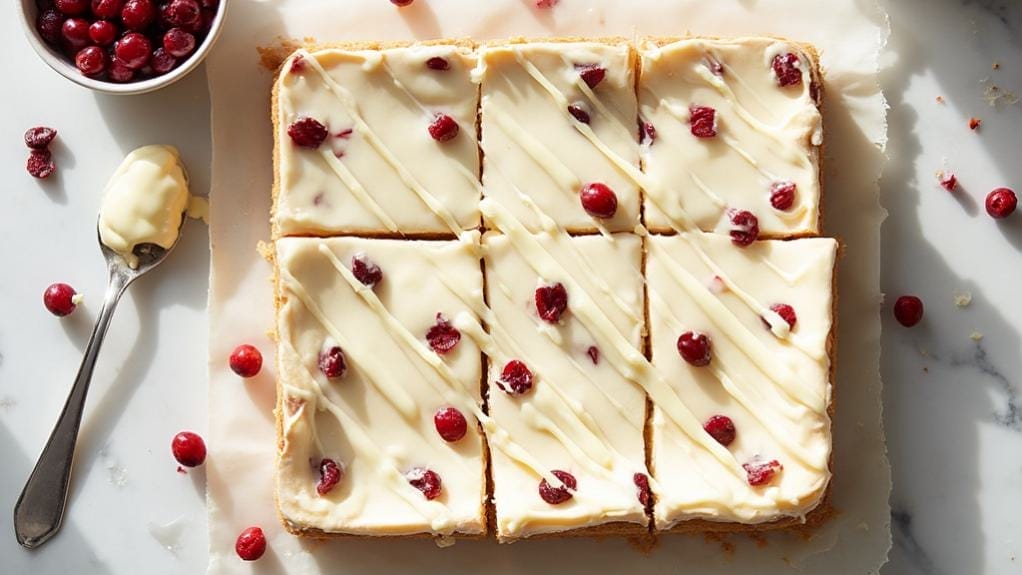
Once your blondie base has completely cooled to room temperature, you’ll begin the rewarding process of transforming these bars into their final, eye-catching form.
Start by preparing the vegan cream cheese frosting, beating the softened cream cheese until it’s smooth and creamy. Gradually incorporate the powdered sugar until you achieve a silky, spreadable consistency that won’t slide off the bars.
Using an offset spatula, spread the frosting evenly across the surface of your cooled blondie base, creating a smooth, level layer.
Next, melt the vegan white chocolate chips in short bursts in the microwave or using a double boiler. If needed, stir in a teaspoon of coconut oil to achieve the perfect drizzling consistency.
Transfer the melted chocolate to a piping bag or zip-top bag with a small corner snipped off. Drizzle the white chocolate in elegant diagonal lines across the frosted surface.
While the chocolate is still wet, scatter additional dried cranberries over the top, gently pressing them into the frosting.
Refrigerate the bars until the frosting and chocolate are completely set before cutting into triangles or squares.
Why I Love This Dish
Warmth radiates from these Cranberry Bliss Bars in a way that captures everything I cherish about holiday baking.
I’ve always been drawn to the harmonious blend of ginger and cranberries, but it wasn’t until I created this vegan version that I truly fell in love with their versatility. They remind me of snowy afternoons spent in my kitchen, filling the house with aromatic spices and sweet promises.
What I appreciate most about these bars is how they bridge the gap between casual comfort and elegant presentation.
I can serve them at both informal gatherings and sophisticated holiday parties, and they never feel out of place. The combination of the spiced blondie base with the creamy frosting creates a textural interplay that I find irresistible, while the pop of crimson from the cranberries adds a festive touch that makes my heart sing.
I’m particularly proud of how this plant-based adaptation maintains the soul of the original while offering a compassionate alternative.
It’s become my go-to recipe when I want to share something special that everyone can enjoy, regardless of their dietary choices.

Leave a Reply