The sweet aroma of freshly baked cinnamon stars wafts through my kitchen, carrying whispers of German Christmas markets and snow-dusted evenings. I’ve spent years perfecting these traditional Zimtsterne cookies, experimenting with the precise balance of ground almonds and hazelnuts until achieving that coveted chewy center and delicate, crisp exterior.
While their elegant five-pointed shape catches every eye at holiday gatherings, it’s the subtle dance of cardamom with cinnamon that truly sets these cookies apart. Let me share with you the secrets to crafting these sophisticated treats that have become an indispensable part of my winter celebrations.
Recipe
Vegan Cinnamon Star Cookies are a delightful adaptation of the traditional German Christmas treat Zimtsterne. These gluten-free cookies maintain the classic combination of almonds, warm spices, and sweet glaze while incorporating plant-based ingredients that make them accessible to all dietary preferences.
The key to perfect Zimtsterne lies in the careful balance of ground nuts and spices, coupled with the innovative use of aquafaba as an egg white replacement. These stars emerge from the oven with a satisfyingly chewy center and delicate crisp edges, all crowned with a snow-white glaze that hardens to a perfect sheen.
- 3 cups ground almonds
- 1 cup ground hazelnuts
- 2 cups powdered sugar
- 2 tablespoons ground cinnamon
- 1 teaspoon ground cardamom
- 3 tablespoons aquafaba
- 2 tablespoons lemon juice
- 1 teaspoon vanilla extract
- ¼ cup plant-based milk
- Extra powdered sugar for rolling
In a large bowl, combine ground almonds and hazelnuts with spices. In a separate bowl, whip aquafaba until foamy, gradually adding powdered sugar until stiff peaks form. Set aside one-third of the aquafaba mixture for glazing.
Fold the remaining aquafaba mixture into the nut mixture along with lemon juice and vanilla. Add plant milk as needed until a workable dough forms. Roll out the dough between two sheets of parchment paper to ¼-inch thickness. Cut with star-shaped cookie cutters, brush with reserved glaze, and bake at 300°F (150°C) for 15-20 minutes until edges are lightly golden.
For optimal results, refrigerate the dough overnight before rolling and cutting. Keep your work surface and rolling pin well-dusted with powdered sugar to prevent sticking. If the dough becomes too soft while working, return it to the refrigerator for 15 minutes to firm up.
Store finished cookies in an airtight container at room temperature for up to two weeks, placing parchment paper between layers to prevent sticking.
Step-By-Step Cooking Instructions
You’ll begin your cinnamon star journey by thoroughly combining the ground nuts with aromatic spices, creating a fragrant foundation for these traditional cookies.
Next, you’ll whip the aquafaba into glossy peaks before gently folding it into your nut mixture along with the remaining wet ingredients, working until you achieve a supple, workable dough.
Finally, you’ll roll out your dough between parchment sheets, cut your stars with precision, and brush them with the reserved glaze before baking them to golden perfection.
Step 1. Mix Dry Ingredients Together

Begin your cookie-making journey by combining the ground almonds and hazelnuts in a spacious mixing bowl. You’ll want to ensure these nuts are finely ground to achieve the characteristic tender crumb of traditional Zimtsterne cookies. Gently whisk the nuts together until they’re evenly distributed.
Next, add your measured powdered sugar to the nut mixture, sifting it through a fine-mesh strainer to prevent any lumps. The sugar will help bind your ingredients while adding the perfect level of sweetness to your festive treats.
Now it’s time for the aromatic spices that give these cookies their signature flavor. Sprinkle in the ground cinnamon and cardamom, making sure to break up any clumps of spices that might’ve formed.
Using a whisk or wooden spoon, thoroughly combine all your dry ingredients until you’ve achieved a uniform mixture. You’ll know you’ve mixed sufficiently when the spices have created a warm, golden-brown color throughout the nut mixture, and no streaks of powdered sugar remain visible. This careful mixing ensures each cookie will have a consistent, delightful flavor.
Step 2. Whip Aquafaba Until Foamy

The next crucial step in creating these elegant holiday cookies involves transforming aquafaba into a light, airy foam.
Pour 3 tablespoons of aquafaba into a clean, dry mixing bowl, ensuring there’s no trace of oil or grease that could prevent proper whipping.
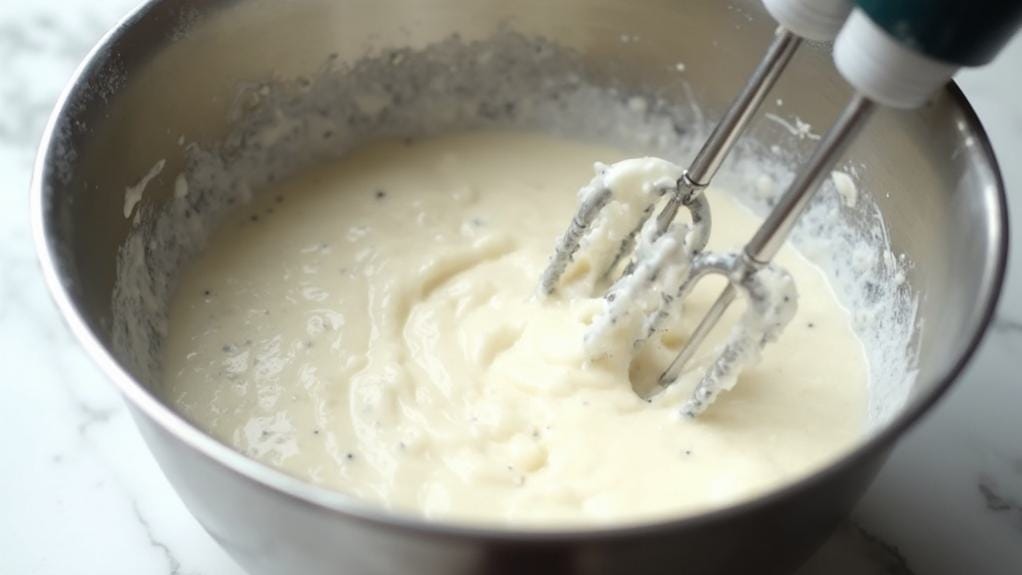
Begin beating the aquafaba at medium speed using an electric mixer or stand mixer fitted with the whisk attachment.
You’ll notice the liquid starting to become frothy within the first minute.
Continue whipping at medium-high speed until soft, foamy peaks begin to form. This typically takes about 3-4 minutes.
Once you’ve achieved a foamy consistency, it’s time to gradually incorporate the powdered sugar.
Add it one tablespoon at a time while continuously beating. You’ll see the mixture becoming increasingly opaque and glossy.
Keep whipping until stiff peaks form – when you lift the whisk, the peaks should stand upright without falling over.
Remember to set aside one-third of this whipped mixture for glazing later. The remaining two-thirds will be folded into your spiced nut mixture to create your cookie dough.
Step 3. Fold in Wet Ingredients

After achieving the perfect aquafaba peaks, gently fold the reserved two-thirds portion into your spiced nut mixture using a rubber spatula.
Work with deliberate, sweeping motions from bottom to top, maintaining the light, airy texture you’ve created. Be careful not to deflate the mixture as you incorporate these elements together.
Add the lemon juice and vanilla extract, continuing your gentle folding motion until they’re fully integrated.
You’ll notice the dough beginning to come together, though it may still appear somewhat dry. This is where you’ll gradually add the plant-based milk, one tablespoon at a time, until you achieve a workable consistency. The dough should hold together when pressed but shouldn’t be overly sticky.
If you find the mixture becoming too wet, pause adding liquid and assess the texture. You can always add more milk, but you can’t remove it once it’s incorporated.
The final dough should be pliable enough to roll out while still maintaining its structure. Remember, the moisture content of your ground nuts can affect how much liquid you’ll need, so trust your instincts as you work the dough to the right consistency.
Step 4. Roll Out Cookie Dough

Preparing your work surface properly is essential for rolling out these delicate Zimtsterne cookies. Begin by generously dusting your countertop or a large cutting board with powdered sugar, ensuring an even coating that’ll prevent sticking.
Place your chilled dough onto the surface and dust the top lightly with additional powdered sugar.
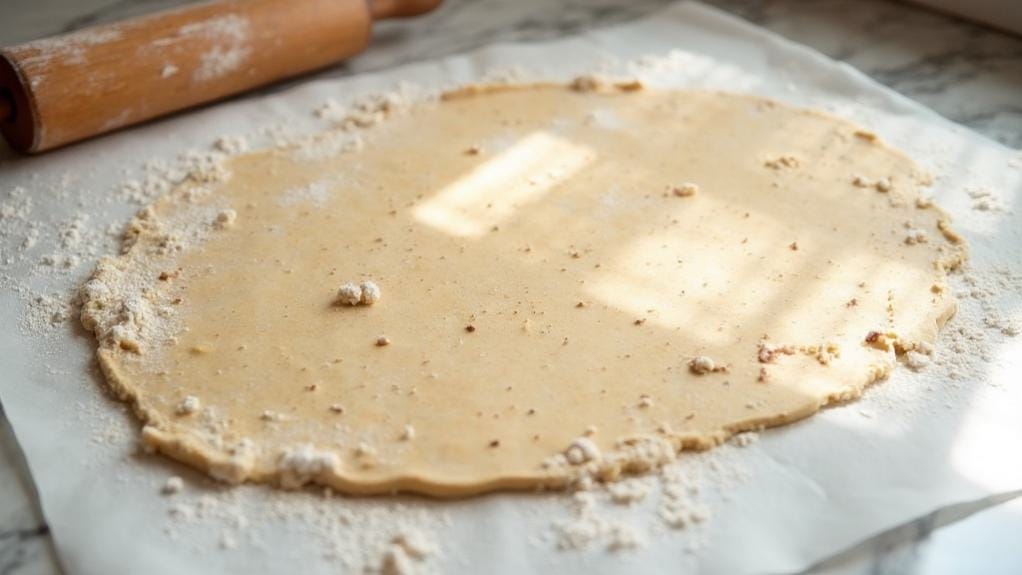
Position a sheet of parchment paper over the dough, then use your rolling pin to gently press and roll the mixture to a uniform thickness of about ¼ inch. Work from the center outward in smooth, steady strokes, maintaining even pressure throughout. If you notice the dough becoming too sticky, lift the parchment paper and dust with more powdered sugar as needed.
Once you’ve achieved the proper thickness, carefully peel back the parchment paper. You’ll want to work efficiently now, as the dough can warm quickly.
Dip your star-shaped cookie cutter in powdered sugar between cuts, pressing firmly into the dough and giving a slight twist to ensure clean edges. Keep your cuts close together to minimize the amount of dough you’ll need to re-roll.
Step 5. Bake and Glaze Stars

Delicate star-shaped cookies deserve careful attention during their final transformation in the oven. Position your stars about an inch apart on parchment-lined baking sheets, ensuring they’ve room to expand slightly.
Before sliding them into your preheated 300°F oven, brush each star with the reserved aquafaba glaze using gentle, even strokes.
Watch your stars carefully as they bake for 15-20 minutes. You’ll know they’re ready when their edges turn a light golden color while the centers remain pale. Don’t let them brown too much – these cookies should maintain their distinctive pale appearance with just a hint of color at the edges.
Once you’ve removed them from the oven, let your stars rest on the baking sheet for 5 minutes. They’ll be quite delicate at first but will firm up as they cool.
Transfer them carefully to a wire rack to cool completely, keeping them separate to prevent the glaze from sticking. You’ll notice the texture developing as they cool – slightly crisp on the outside while maintaining that characteristic chewy interior that makes Zimtsterne so irresistible.
Why I Love This Dish
Steeped in holiday tradition, these cinnamon star cookies have captured my heart with their perfect balance of nutty richness and warming spices. I’m particularly drawn to how the blend of almonds and hazelnuts creates a sophisticated depth that elevates these treats beyond ordinary holiday fare.
What I cherish most about these stars is their versatility. They’re elegant enough for formal gatherings yet humble enough for quiet afternoons with tea. The delicate interplay between cardamom and cinnamon reminds me of snow-dusted winter mornings, while their star shape brings a touch of magic to any cookie plate.
I’ve found that these vegan adaptations actually enhance the cookies’ natural qualities. The aquafaba creates a perfect meringue-like glaze that catches the light beautifully, while the plant-based milk ensures a tender crumb that stays fresh for days.
What’s more, I appreciate how these treats cater to various dietary needs without sacrificing the authentic charm of traditional Zimtsterne. They’ve become my go-to holiday gift, as they embody both thoughtfulness and indulgence in every carefully spiced bite.

Leave a Reply