I’ve spent countless hours perfecting what I consider to be the ultimate expression of chocolate-orange harmony in dessert form. The interplay between dark chocolate’s deep richness and fresh orange’s bright acidity creates an almost symphonic experience that elevates this tart beyond ordinary pastry.
While the classic chocolate-orange combination isn’t new, I’ve refined this recipe to achieve a silky, yet substantial texture that’s encased in a beautifully crisp coconut crust. If you’re intrigued by the intersection of indulgence and sophistication, you’ll want to discover my technique for achieving this elegant balance of flavors.
Recipe
This decadent chocolate orange tart combines the richness of dark chocolate with bright citrus notes, creating an indulgent dessert that’s completely plant-based. The crisp pastry crust provides the perfect foundation for a silky-smooth chocolate ganache filling, while fresh orange zest adds a sophisticated complexity to every bite.
The beauty of this vegan tart lies in its simplicity and clever use of ingredients. Coconut cream replaces traditional heavy cream to achieve the signature smooth texture of the ganache, while coconut oil stands in for butter in the crust, resulting in a dessert that’s every bit as luxurious as its conventional counterpart.
- 200g plain flour
- 120g coconut oil, solid
- 4 tbsp cold water
- 300g dark chocolate (70% cocoa)
- 400ml coconut cream
- 2 oranges, zested
- 1 tbsp orange juice
- 1/4 tsp sea salt
- 2 tbsp maple syrup
- 1 tbsp cocoa powder
To make the tart, start by preparing the crust: mix flour and solid coconut oil until crumbly, then gradually add cold water until a dough forms. Chill for 30 minutes, then roll out and line a 23cm tart tin. Blind bake at 180°C for 20 minutes.
For the filling, heat coconut cream until just simmering, pour over the chopped chocolate, and stir until smooth. Add orange zest, juice, salt, and maple syrup. Pour the ganache into the cooled crust and refrigerate for 4 hours until set. Just before serving, dust the surface with cocoa powder.
For best results, ensure all ingredients except the coconut oil are at room temperature before starting. The coconut oil should be cold and solid for the perfect crust texture.
If the ganache mixture splits during preparation, slowly whisk in additional hot coconut cream until smooth. The finished tart can be stored in the refrigerator for up to 5 days, but allow it to sit at room temperature for 30 minutes before serving to enhance the flavors and achieve the ideal texture.
Step-By-Step Cooking Instructions
Before you begin crafting this decadent chocolate orange tart, you’ll want to assemble your mise en place, carefully measuring each ingredient and arranging them in order of use.
You’ll start by blending the dry ingredients for the crust before rolling out your dough to achieve that perfect, buttery base that will cradle the silky chocolate-orange filling.
Finally, you’ll create the luxurious ganache with premium dark chocolate and coconut cream, allowing it to set before finishing with a sophisticated dusting of cocoa powder that transforms this tart into a professional-looking masterpiece.
Step 1. Gather All Ingredients First

Successful execution of this elegant chocolate orange tart begins with a precise mise en place.
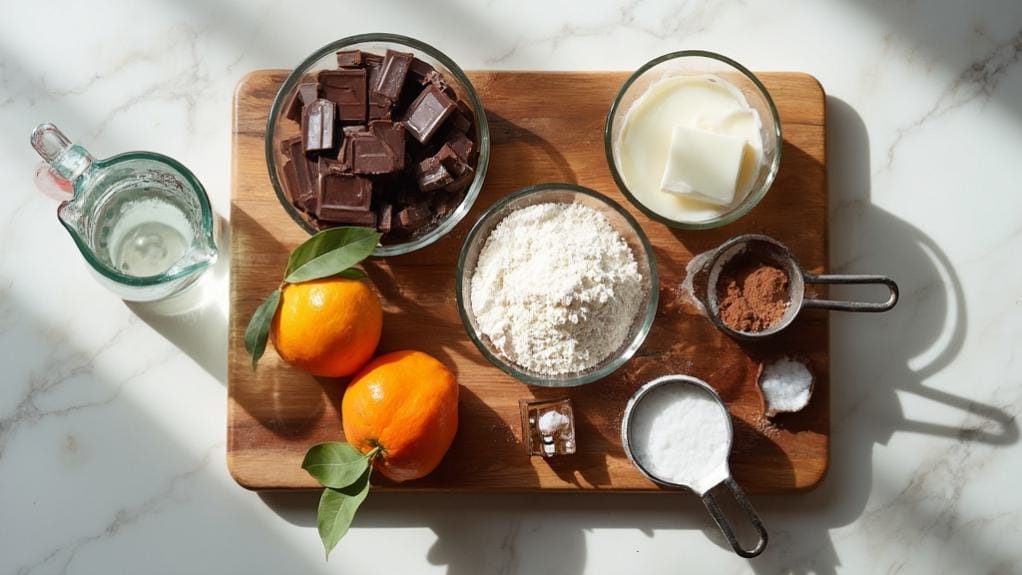
You’ll need to measure and organize your ingredients into distinct groups: pastry components, filling elements, and finishing touches. For the pastry, gather your plain flour, solid coconut oil (ensure it’s properly chilled), and ice-cold water. Set these near your food processor or mixing bowl.
For your chocolate filling, prepare your mise by chopping the dark chocolate into uniform pieces, measuring your coconut cream, and having your orange zest and juice ready. You’ll want to zest your oranges before juicing them, so arrange your citrus preparation station with a microplane and juicer.
Position your maple syrup, sea salt, and cocoa powder within easy reach.
Don’t forget to check that your 23cm tart tin is clean and dry. You’ll also need parchment paper and baking weights for blind baking.
Having everything measured and organized before you begin will ensure a smooth process and prevent any last-minute scrambling that could affect the tart’s final texture and appearance.
Step 2. Mix Dry Ingredients First

Begin your chocolate orange tart by sifting 200g of plain flour into a large mixing bowl, ensuring any lumps are removed and the flour is well-aerated.
You’ll notice the flour becomes lighter and fluffier through this process, which will contribute to a more delicate pastry texture.
Add 1/4 teaspoon of sea salt to the flour and whisk gently to distribute it evenly throughout the mixture.
Create a small well in the center of your flour mixture, which will later help you incorporate the wet ingredients more efficiently.
At this stage, it’s crucial to handle the dry ingredients with a light touch to avoid compacting the flour, as this could result in a tough pastry crust.
If you’re working in a warm kitchen, you might want to chill your mixing bowl beforehand to ensure the coconut oil stays firm when you add it later.
Check that your work surface is clean and lightly dusted with flour, as you’ll need this prepared for when you start bringing the dough together.
Step 3. Roll Dough for Crust

Once your dough has chilled for 30 minutes, dust your work surface generously with flour and place the pastry disc in the center.
Using your rolling pin, press down gently and roll outward from the center, rotating the dough a quarter turn after each roll to maintain an even circular shape. Continue rolling until you’ve achieved a thickness of about 3-4mm and a diameter large enough to line your 23cm tart tin with some overhang.
To transfer the dough, carefully roll it around your rolling pin, then unroll it over your tart tin. Don’t stretch the dough as you ease it into the corners, as this can cause shrinkage during baking. Instead, lift and lower the edges gently to help it settle naturally into the tin’s shape.
Press the dough firmly against the fluted sides, then run your rolling pin across the top to trim off excess pastry. Using your fingers, crimp the edges for a professional finish, then prick the base all over with a fork.
Return the lined tin to the refrigerator for 15 minutes before blind baking to prevent shrinkage and maintain the crust’s shape.
Step 4. Make Silky Chocolate Filling

While your tart shell cools to room temperature, you’ll prepare the velvety chocolate filling that forms the heart of this dessert.
Begin by finely chopping the dark chocolate into uniform pieces, ensuring they’ll melt evenly. Place the chocolate in a heat-resistant bowl and set aside.
Heat the coconut cream in a saucepan until it just reaches a simmer – you’ll see tiny bubbles forming around the edges.
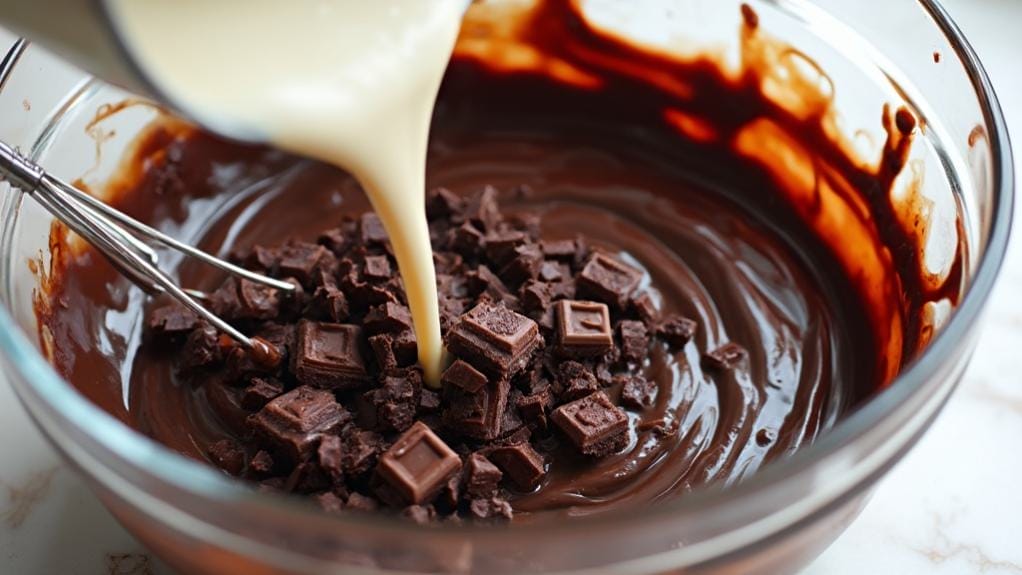
Immediately pour the hot cream over your chopped chocolate, then let it sit untouched for 2 minutes. Using a spatula, gently stir from the center outward until you’ve created a smooth, glossy ganache.
Add the orange zest, fresh juice, sea salt, and maple syrup, incorporating each thoroughly.
If you notice the mixture beginning to split, don’t panic – simply warm additional coconut cream and whisk it in gradually until the ganache becomes silky again.
Once your filling achieves a uniform consistency, pour it into your cooled tart shell, gently tapping the pan to release any air bubbles.
Transfer to the refrigerator and let set for 4 hours until the filling is firm but still luxuriously smooth.
Step 5. Garnish With Cocoa Powder

The finishing touch of a delicate cocoa powder dusting transforms your chocolate orange tart from luxurious to absolutely sublime.
Before applying the cocoa powder, ensure your tart has fully set in the refrigerator for at least 4 hours and the surface is completely dry to the touch.
Place a fine-mesh sieve or dedicated cocoa shaker above the tart, holding it approximately 6 inches from the surface.
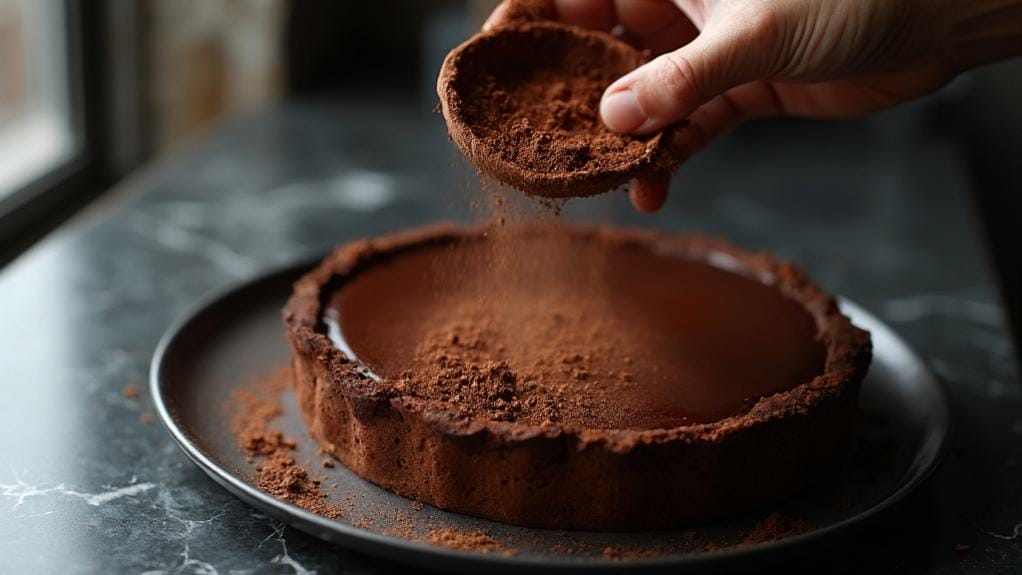
Add 1 tablespoon of high-quality cocoa powder to the sieve and gently tap the side, allowing the powder to fall evenly across the ganache’s surface.
Work in a circular motion from the outside toward the center to achieve uniform coverage.
For a professional finish, you’ll want to avoid any heavy patches or bare spots.
If you notice any uneven areas, simply hold a piece of parchment paper over the majority of the tart, leaving only the imperfect section exposed, and dust again lightly.
Don’t overdo the cocoa powder – you’re aiming for a gossamer-thin layer that complements rather than overwhelms the orange-chocolate flavor profile.
Once dusted, return the tart to the refrigerator until you’re ready to serve.
Why I Love This Dish
As someone passionate about innovative desserts, I’m drawn to this chocolate orange tart for its masterful balance of rich indulgence and bright citrus notes. The combination of dark chocolate’s deep complexity with fresh orange’s zesty brightness creates a sophisticated dance of flavors that never fails to impress both my family and dinner guests.
I particularly appreciate how this vegan adaptation maintains the dessert’s luxurious character while being completely plant-based. The coconut cream provides a silky smoothness that’s indistinguishable from traditional dairy-based versions, while the coconut oil crust achieves that perfect crisp texture I desire in a tart shell.
It’s a testament to how modern plant-based baking can achieve classical elegance without compromise. What I find most satisfying is how the orange zest cuts through the chocolate’s richness, preventing palate fatigue and ensuring each bite remains as exciting as the first.
I’ve served this tart at numerous dinner parties, and I’m always proud of how it bridges the gap between sophisticated dining and conscious eating, proving that sustainable choices can be utterly decadent.

Leave a Reply