I’ve spent years perfecting my version of Maple Pecan Pie, transforming the traditional recipe into a sophisticated vegan masterpiece that honors its classic roots. As someone who believes desserts should transcend dietary restrictions without sacrificing elegance, I’m particularly proud of this creation’s ability to merge pure maple syrup’s complex sweetness with perfectly toasted pecans’ subtle warmth.
While many assume vegan adaptations compromise on texture or taste, I’ve discovered quite the contrary – and the secret lies in several unexpected techniques that elevate this pie from merely good to absolutely sublime.
Recipe
This vegan maple pecan pie captures all the decadent flavors of the traditional dessert while being completely free from animal products. The combination of pure maple syrup, brown sugar, and coconut cream creates a rich, caramel-like filling that perfectly complements the toasted pecans.
The key to achieving the ideal texture lies in the proper cooking of the filling mixture and allowing adequate cooling time. When heated, the cornstarch activates to bind the ingredients, creating that classic gooey center that sets firmly when cooled. The result is a showstopping dessert that will satisfy both vegans and non-vegans alike.
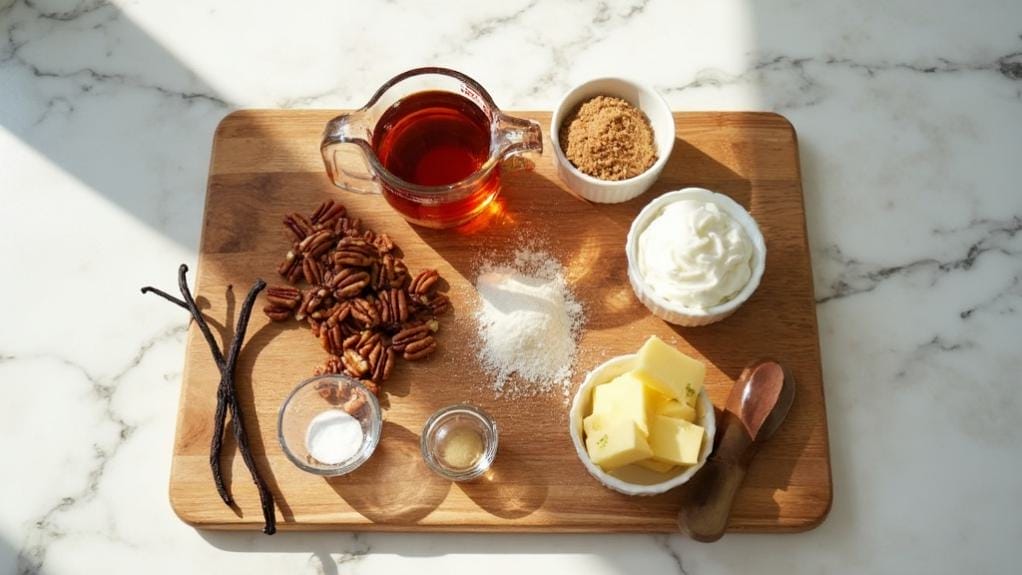
- 1 vegan pie crust
- 3 cups raw pecans
- 1 cup pure maple syrup
- 1/2 cup brown sugar
- 1/4 cup coconut cream
- 3 tablespoons cornstarch
- 2 tablespoons vegan butter
- 1 teaspoon vanilla extract
- 1/4 teaspoon salt
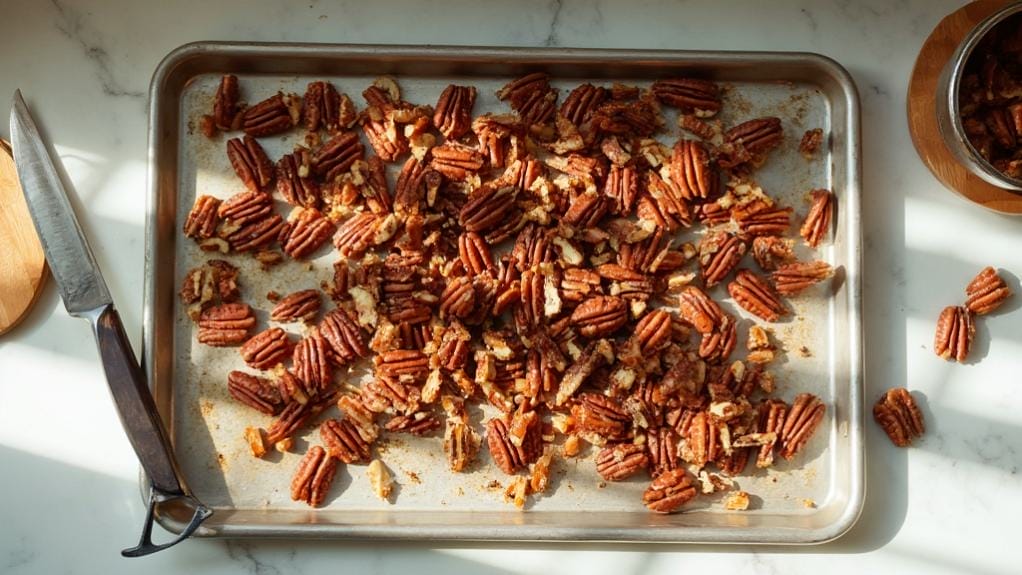
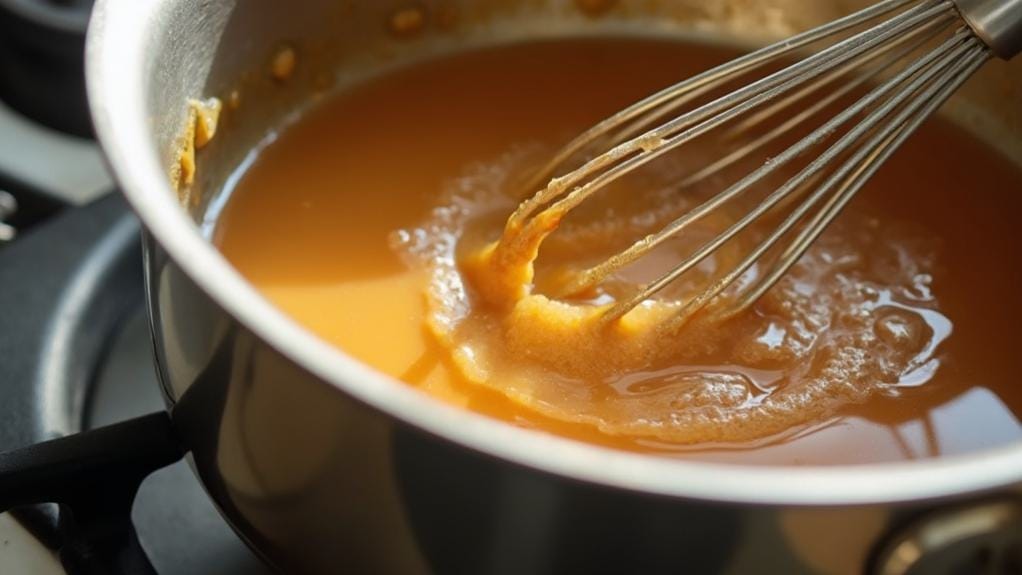
Preheat oven to 350°F (175°C). Toast pecans on a baking sheet for 8 minutes, then roughly chop half of them. In a saucepan, combine maple syrup, brown sugar, coconut cream, cornstarch, vegan butter, vanilla, and salt. Cook over medium heat, whisking constantly until mixture thickens, about 5-7 minutes.
Stir in chopped pecans, pour into pie crust, and arrange whole pecans on top in a circular pattern. Bake for 45-50 minutes until filling is set but slightly jiggly in center. Cool completely for at least 4 hours before slicing.
For optimal results, ensure all ingredients reach room temperature before beginning. Cover pie crust edges with foil if they brown too quickly during baking. Test filling doneness by gently shaking the pie – it should wobble slightly but not appear liquid.
Store in refrigerator for up to 5 days, but serve at room temperature for best texture and flavor. If pie appears too firm when chilled, allow 30 minutes at room temperature before serving.
Step-By-Step Cooking Instructions
You’ll want to begin by gathering all your room-temperature ingredients and preheating the oven to ensure a smooth baking process.
Your next steps involve toasting and chopping the pecans, then carefully preparing the maple filling mixture by combining and heating the wet ingredients until they reach the perfect consistency.
Once you’ve assembled the pie with its decorative pecan topping, you’ll bake it until set and allow it to cool completely before serving to achieve the ideal texture.
Step 1. Prepare Ingredients Beforehand

Before embarking on this delectable maple pecan pie journey, gather all ingredients and ensure they’ve reached room temperature for optimal results.
You’ll need to measure out precisely 3 cups of raw pecans, 1 cup of pure maple syrup, and 1/2 cup of brown sugar. Set aside your coconut cream, ensuring it’s well-stirred and smooth before measuring the required 1/4 cup.
Prepare your cornstarch by measuring 3 tablespoons into a small bowl, as you’ll need to whisk this quickly into your liquid ingredients later. Cut 2 tablespoons of vegan butter into small pieces to promote even melting. Measure your vanilla extract and salt, keeping them readily accessible.
If you’re using a homemade vegan pie crust, ensure it’s rolled out and fitted into your pie dish before beginning the filling preparation.
Sort through your pecans, selecting the most attractive whole ones to reserve for the top decoration. You’ll want to arrange these in a circular pattern later, so having them pre-selected will streamline your process.
Position your baking sheet near your work area for toasting the pecans as your first active step.
Step 2. Toast and Chop Pecans

In accordance with proper technique, begin by spreading all three cups of pecans across an ungreased baking sheet in a single layer, ensuring they don’t overlap.
Place the baking sheet on the center rack of your preheated 350°F oven and set a timer for 8 minutes. You’ll notice a rich, nutty aroma developing as the pecans release their natural oils.
Once toasted, remove the pecans from the oven and let them cool for 2-3 minutes until they’re comfortable to handle.
Separate the pecans into two portions: set aside half for the decorative top layer, and transfer the remaining half to your cutting board.
Using a sharp chef’s knife, roughly chop the pecans designated for the filling into pieces approximately 1/4 to 1/2 inch in size.
Don’t over-process them into fine pieces, as you’ll want to maintain some textural integrity in the final pie.
Transfer your chopped pecans to a clean bowl and set aside the whole pecans for the top layer.
The contrast between the chopped pecans in the filling and the whole pecans adorning the surface will create both visual appeal and textural complexity.
Step 3. Make Maple Filling Mixture

The maple filling’s success hinges on precise timing and careful attention to the cooking process. You’ll need to combine your maple syrup, brown sugar, coconut cream, cornstarch, vegan butter, vanilla extract, and salt in a medium-sized saucepan.
Before mixing, ensure each ingredient is at room temperature to prevent crystallization and promote even heating.
Place your saucepan over medium heat and begin whisking immediately. You’ll notice the mixture starting to thin as the butter melts, but don’t be tempted to increase the heat.
Continue whisking constantly – this isn’t optional, as the cornstarch needs continuous agitation to prevent lumping and scorching. You’ll observe the mixture gradually thickening, transforming from a loose liquid to a more viscous consistency.
Watch for visual cues that indicate proper thickening: the filling should coat the back of a spoon and leave a clear path when you run your finger through it.
Once it reaches this stage, remove it from heat immediately. You’ll now fold in your chopped pecans, ensuring they’re evenly distributed throughout the warm filling before transferring to your prepared crust.
Step 4. Assemble Pie for Baking

Carefully assembling your maple pecan pie requires a methodical approach to achieve professional results.
Begin by retrieving your prepared pie crust and positioning it on a sturdy baking sheet. Take half of your toasted pecans and arrange them in a single layer across the bottom of the crust, ensuring even distribution.
Pour your warm maple filling mixture slowly into the crust, allowing it to settle naturally around the chopped pecans. Don’t overfill; leave approximately 1/4 inch of space at the rim.
Now, arrange your remaining whole pecans in an elegant circular pattern on top of the filling, starting from the outer edge and working your way toward the center. You’ll want to place them close together, as they’ll spread slightly during baking.
Before transferring to the oven, check that your oven rack is positioned in the center and the temperature has reached 350°F. If your crust edges appear delicate, secure them with aluminum foil to prevent over-browning.
Your pie is now ready for its 45-50 minute baking journey, which will transform it into a golden-brown masterpiece.
Step 5. Cool And Serve Pie

After your perfectly baked maple pecan pie emerges from the oven, proper cooling becomes a refined art that requires patience and precision.
Place the pie on a wire cooling rack, ensuring adequate air circulation around the dish. You’ll notice the filling still has a slight wobble in the center – this is precisely what you want, as it will continue to set during the cooling process.
Let your pie cool at room temperature for two hours, then transfer it to the refrigerator for an additional two to three hours. This gradual cooling method allows the cornstarch and maple syrup mixture to achieve the ideal consistency.
When you’re ready to serve, remove the pie from the refrigerator and let it warm to room temperature for 30 minutes – this enhances the maple flavor and creates the perfect texture.
For pristine slices, warm your knife under hot water and dry it thoroughly before each cut. You’ll achieve clean, professional-looking portions that showcase the distinct layers of filling and pecans.
Serve your pie as is, or elevate it with a dollop of coconut whipped cream for an added touch of luxury.
Why I Love This Dish
From among countless desserts I’ve created, this maple pecan pie holds a special place in my culinary repertoire. I’ve refined this recipe over years of experimentation, discovering that pure maple syrup creates a depth of flavor that corn syrup simply can’t match. The combination of toasted pecans and maple-infused filling brings together earthiness and sweetness in perfect harmony.
What I treasure most about this dish is its ability to satisfy both traditional pie lovers and those following a plant-based diet. I’m particularly proud of how the coconut cream and cornstarch work together to achieve that classic pecan pie texture without eggs. The careful balance of ingredients ensures that each slice holds its shape beautifully while maintaining the gooey center that’s essential to a proper pecan pie.
I’ve served this pie at countless gatherings, and I’m always moved by how it brings people together. Its sophisticated flavor profile and elegant presentation make it equally suitable for casual family dinners and formal holiday celebrations.
The way the toasted pecans create a stunning mosaic pattern on top never fails to impress my guests.

Leave a Reply