I’ve discovered that crafting the perfect peppermint bark requires more finesse than simply melting chocolate and sprinkling candy canes. Through years of holiday baking, I’ve refined my technique to create layers that not only look stunning but also deliver the ideal snap when broken.
While many versions exist, I’ve developed a method that ensures the dark and white chocolate layers bond properly, preventing that frustrating separation that often plagues this festive treat. If you’re ready to master the art of proper tempering and achieve professional-quality results, let me share my time-tested approach.
Recipe
A holiday favorite reimagined, this vegan peppermint bark captures all the magic of the traditional version while being completely plant-based. The combination of dark and white chocolate creates beautiful layers that are both visually striking and delicious, while the crushed candy canes add a festive touch and refreshing crunch.
This no-bake treat requires minimal kitchen skills but delivers professional-looking results. The key lies in properly tempering the chocolate and allowing adequate time for each layer to set. The end result is a smooth, glossy bark with a satisfying snap that makes an excellent homemade gift or party offering.
- 16 ounces vegan dark chocolate
- 16 ounces vegan white chocolate
- 1 teaspoon peppermint extract
- 8 vegan candy canes
- 1/4 teaspoon coconut oil
- Parchment paper
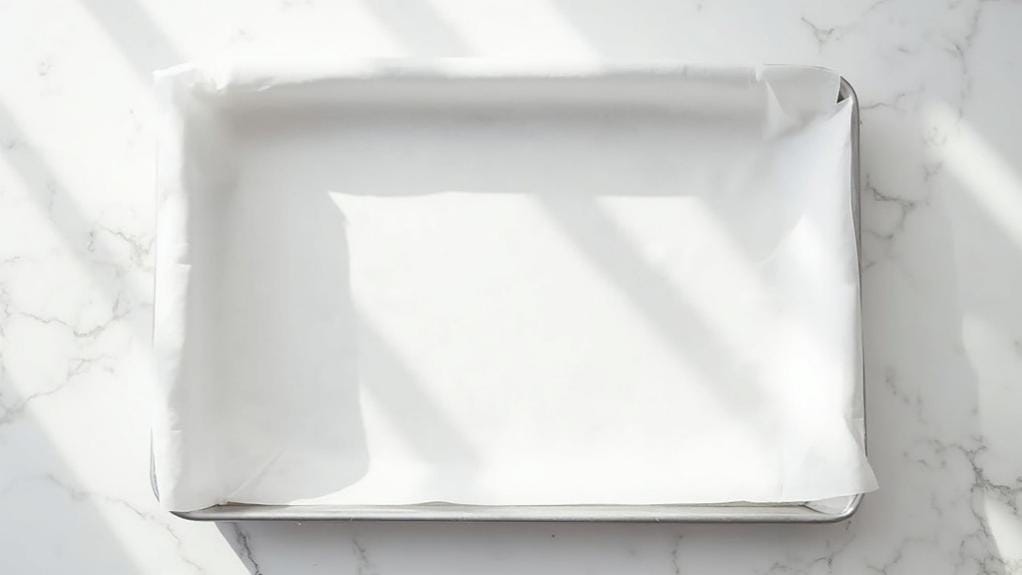
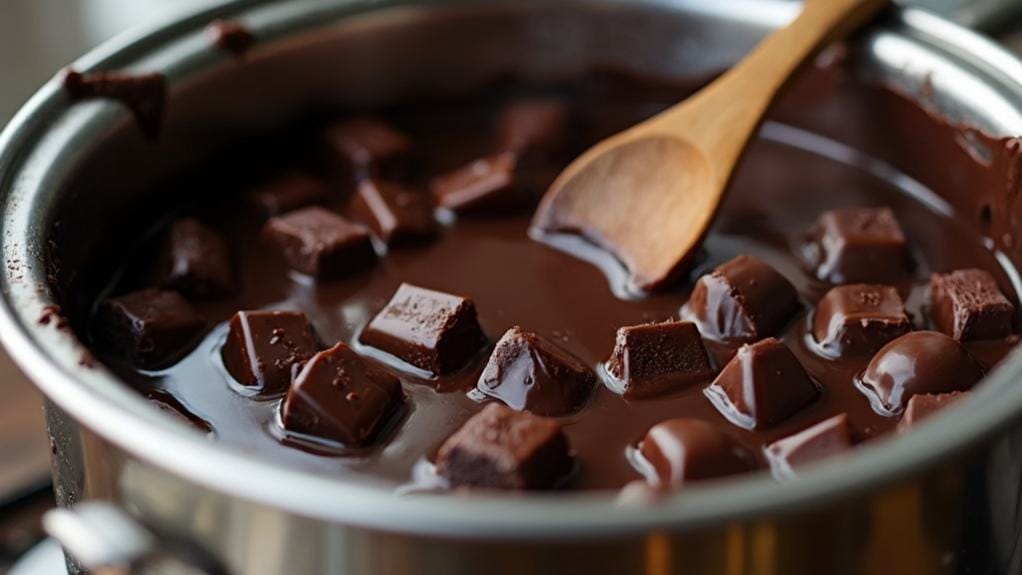
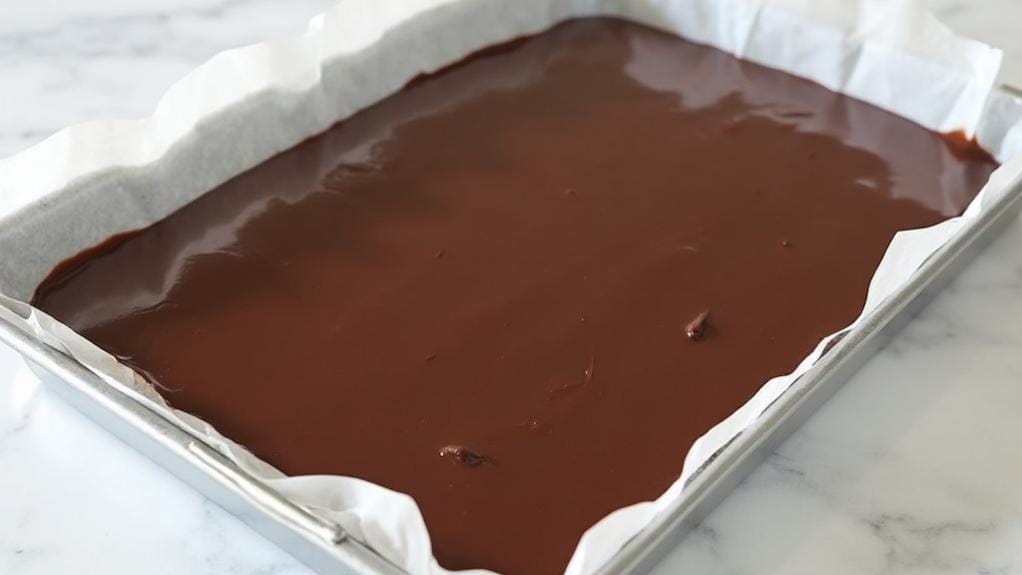
Line a baking sheet with parchment paper. Melt the dark chocolate with half the coconut oil using a double boiler or microwave in 30-second intervals. Stir in half the peppermint extract and spread evenly on the parchment paper. Refrigerate until firm, about 30 minutes.
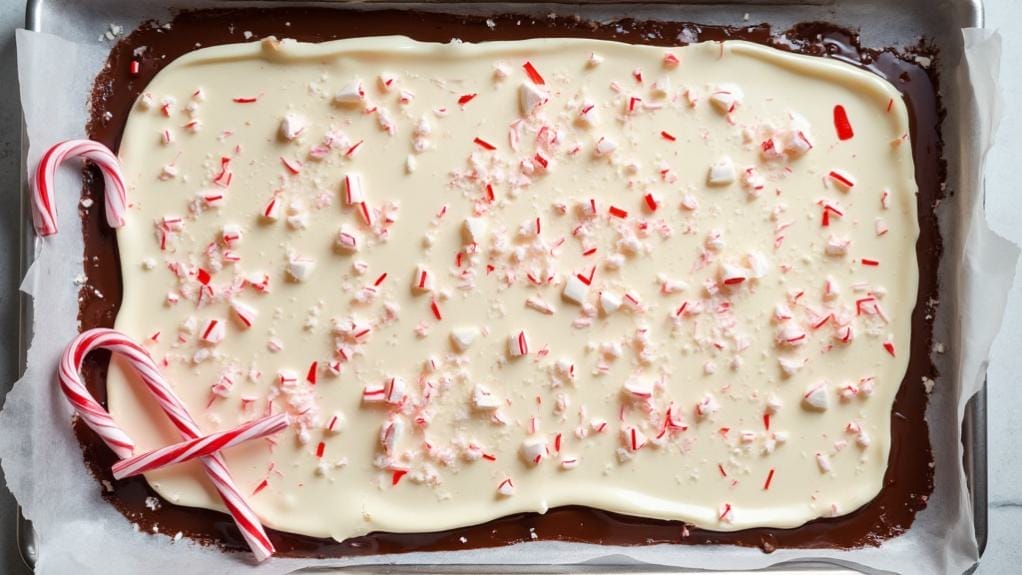
Melt white chocolate with remaining coconut oil, add remaining peppermint extract, and spread over the dark chocolate layer. Immediately sprinkle with crushed candy canes, pressing them lightly into the surface. Refrigerate for 2 hours until completely set, then break into pieces.
For the best texture and appearance, ensure all chocolate is properly tempered before use, maintaining dark chocolate between 88-90°F and white chocolate between 84-86°F during the melting process. Avoid any contact with water, as this will cause the chocolate to seize.
Store the finished bark in an airtight container in the refrigerator for up to two weeks, and always serve chilled to prevent softening. If a more uniform appearance is desired, score the bark with a sharp knife before it fully sets.
Step-By-Step Cooking Instructions
You’ll begin by lining a baking sheet with parchment paper and melting the dark chocolate mixture in a double boiler until smooth and glossy.
Once you’ve spread the dark chocolate layer evenly and chilled it until firm, you’ll coat it with the melted white chocolate mixture and immediately sprinkle with crushed candy canes.
After pressing the candy pieces gently into the surface, you’ll refrigerate the bark for two hours until completely set before breaking it into pieces.
Step 1. Line Baking Sheet

Begin by selecting a rimmed baking sheet that’s large enough to accommodate the full recipe – approximately 9×13 inches works well.
You’ll want to ensure the sheet has enough depth to contain the melted chocolate layers without spilling over the edges.
Cut a piece of parchment paper that extends slightly beyond the edges of your baking sheet. This overhang will make it easier to lift the finished bark from the pan later.
Press the parchment firmly against the bottom and sides of the sheet, smoothing out any wrinkles or creases that could create imperfections in your bark’s surface.
If your parchment paper won’t lie flat, you can create small pleats at the corners to help it conform to the pan’s shape.
Secure the corners by folding them neatly or using small clips if needed – just remember to remove any clips before pouring the chocolate.
For extra security, you can lightly grease the baking sheet before laying down the parchment, which will help it stay in place.
Make sure the surface is completely smooth and ready before you begin melting your chocolate.
Step 2. Melt Dark Chocolate Mixture

With your lined baking sheet ready, the next phase focuses on properly melting the dark chocolate. Fill the bottom of your double boiler with about two inches of water, ensuring the water doesn’t touch the upper bowl.
Place your dark chocolate and 1/8 teaspoon of coconut oil in the top bowl, breaking the chocolate into uniform pieces for even melting. Heat the water to a gentle simmer, not a rolling boil, as excess heat can scorch the chocolate.
Stir the mixture continuously with a rubber spatula, ensuring the chocolate melts evenly and maintains a temperature between 88-90°F (31-32°C). Once the chocolate is about 75% melted, remove the bowl from heat and continue stirring until completely smooth. The residual heat will finish the melting process while preventing overheating.
Add 1/2 teaspoon of peppermint extract to your melted chocolate mixture, stirring thoroughly to incorporate. Test the consistency by lifting your spatula – the chocolate should flow smoothly in a ribbon-like stream.
If it’s too thick, add the remaining coconut oil gradually until you achieve the desired consistency.
Step 3. Chill Dark Layer Fully

Once the melted dark chocolate mixture is evenly spread on your parchment-lined baking sheet, transfer it immediately to the refrigerator.
You’ll need to let this layer chill completely until it’s firm to the touch, which typically takes about 30 minutes. Don’t rush this crucial step, as an incompletely set dark chocolate layer will mix with the white chocolate layer, compromising the bark’s distinct appearance.
To test if the dark chocolate has set properly, gently touch the surface with your fingertip – it should feel solid and no longer tacky. If you notice any soft spots, return the sheet to the refrigerator for an additional 5-10 minutes. The properly chilled layer should have a slight sheen and feel completely firm across its entire surface.
During this chilling period, you can prepare your white chocolate mixture and crush your candy canes.
However, don’t melt the white chocolate until the dark layer is fully set, as you’ll want to work quickly once the second layer is ready. The temperature in your refrigerator should be between 35-40°F (1.7-4.4°C) for optimal setting.
Step 4. Add White Chocolate Coating

The melted white chocolate layer requires swift and precise application to achieve professional-looking peppermint bark.
Begin by melting the vegan white chocolate with the remaining coconut oil in your double boiler, stirring constantly to ensure even heating. Once it’s completely smooth, add the remaining peppermint extract and blend thoroughly.
Working quickly but methodically, pour the white chocolate mixture over your chilled dark chocolate layer. Use an offset spatula to spread it evenly from edge to edge, creating a uniform thickness that matches the dark chocolate base.
You’ll need to work fast, as the cold dark chocolate layer will begin setting the white chocolate on contact.
Before the white layer sets, immediately sprinkle your crushed candy cane pieces across the entire surface. Use gentle pressure to press them slightly into the white chocolate, ensuring they’ll adhere properly when fully set.
Don’t wait to add the candy pieces, as the chocolate can develop a skin that will prevent proper adhesion. If you notice the white chocolate beginning to set too quickly, warm your spatula in hot water and dry it thoroughly before continuing to spread.
Step 5. Chill Until Completely Set

After adding your crushed candy cane topping, proper chilling becomes your final step to achieve perfect peppermint bark.
Place your baking sheet carefully in the refrigerator, ensuring it remains level to prevent the white chocolate layer from shifting. You’ll need to allow at least two hours of uninterrupted cooling time for the layers to set completely.
Don’t rush this crucial step, as proper setting ensures your bark will have the ideal texture and clean break when snapped. You’ll know the bark is ready when it feels firm to the touch and has lost any tackiness on the surface. If you’re working in a warm kitchen, you may need to extend the chilling time by 30 minutes.
Once fully set, remove the bark from the refrigerator and let it stand for 2-3 minutes. This brief tempering prevents condensation from forming on the surface.
Using clean, dry hands, break the bark into irregular pieces, or if you prefer uniform portions, use a sharp knife warmed under hot water and dried thoroughly.
Return the finished pieces to the refrigerator in an airtight container until you’re ready to serve.
Why I Love This Dish
Peppermint bark’s versatility as a holiday treat has made it my go-to recipe during the festive season. I’ve found that its elegant appearance belies how simple it’s to prepare, making it perfect for both last-minute gatherings and planned gift-giving. The combination of dark and white chocolate creates a striking visual contrast that never fails to impress my guests.
What I appreciate most about this vegan version is that it maintains the classic peppermint bark experience while being inclusive of all dietary preferences. I can serve it to everyone at holiday parties without drawing attention to its plant-based status. The satisfying snap of properly tempered chocolate, coupled with the crunch of crushed candy canes, delivers the exact texture I’m looking for in a confection.
I’ve discovered that this bark serves multiple purposes in my holiday routine. It’s equally at home in decorated gift boxes, arranged on dessert platters, or packaged in mason jars for teachers and neighbors.
The fact that it keeps well in the refrigerator for up to two weeks means I can prepare it well in advance of when I need it.

Leave a Reply