You might be surprised to learn that cashews, when properly soaked and processed, can replicate the exact texture and mouthfeel of traditional cream cheese. I’ve spent years perfecting this vegan cheese ball recipe, meticulously balancing the subtle tang of fermentation with the sweetness of cranberries and the robust depth of toasted walnuts.
As a professional chef specializing in plant-based alternatives, I’ve discovered that the key lies not just in the ingredients, but in the precise timing of each preparation step – and I’m about to share my most closely guarded techniques.
Recipe
This vegan cheese ball combines the richness of cashews with the tangy flavors of nutritional yeast and citrus to create a creamy, dairy-free appetizer that rivals traditional cheese spreads.
The smooth, spreadable center provides the perfect canvas for a festive coating of walnuts and cranberries, making it an eye-catching centerpiece for any gathering.
The success of this recipe lies in properly preparing the cashews and allowing adequate time for the mixture to set. While the active preparation time is minimal, planning ahead ensures the ideal texture and allows the flavors to fully develop, resulting in a sophisticated appetizer that will please both vegan and non-vegan guests alike.
- 2 cups raw cashews
- 2 tablespoons nutritional yeast
- 1 tablespoon lemon juice
- 1 teaspoon apple cider vinegar
- 1/2 teaspoon garlic powder
- 1/2 teaspoon onion powder
- 1/4 teaspoon sea salt
- 1 cup chopped walnuts
- 1/2 cup dried cranberries
- 2 tablespoons fresh herbs (thyme or chives)
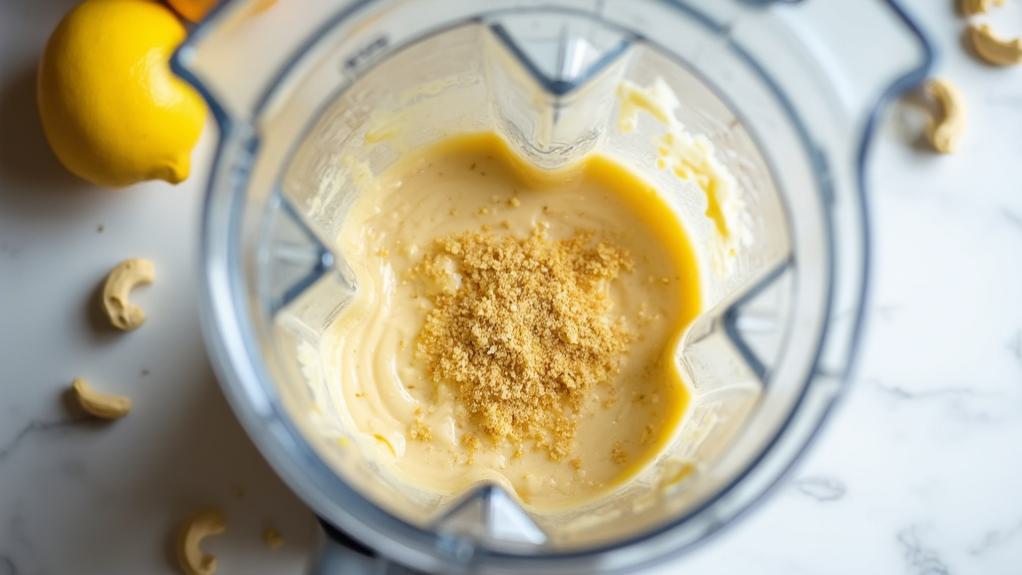
Soak cashews overnight, then drain and rinse thoroughly. Place the cashews in a high-speed blender with nutritional yeast, lemon juice, apple cider vinegar, garlic powder, onion powder, and salt. Blend until completely smooth, stopping to scrape down the sides as needed.
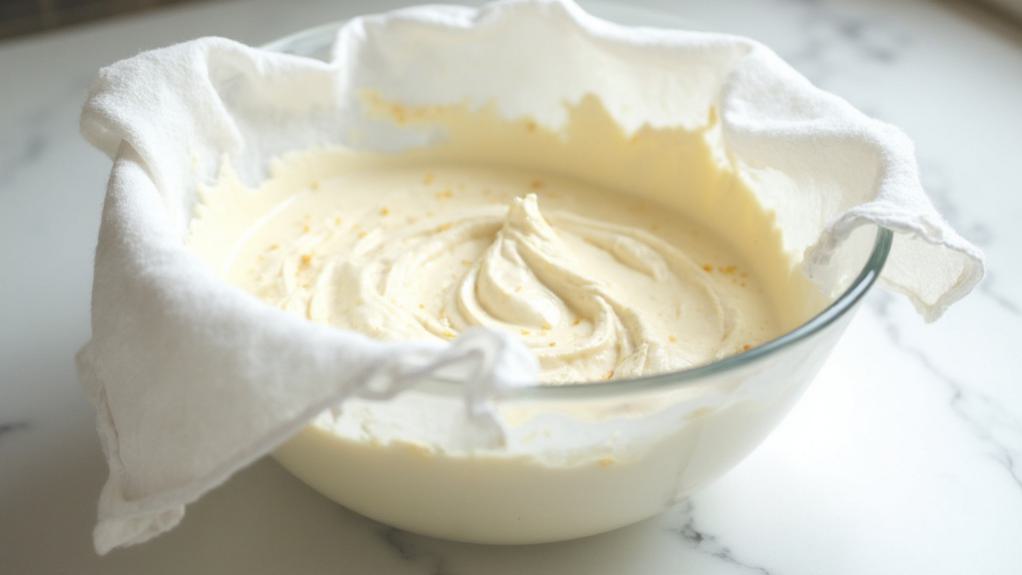
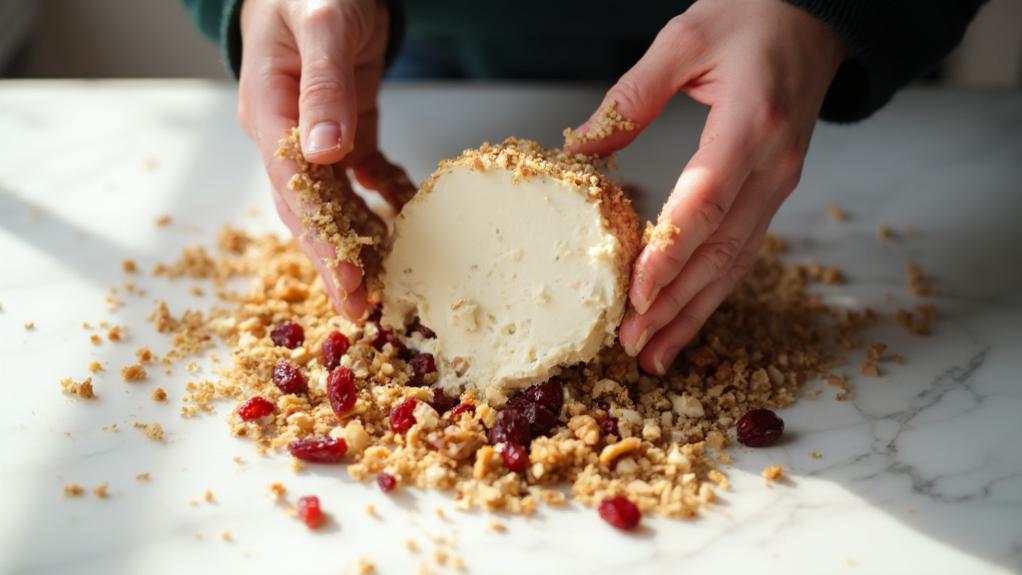
Transfer the mixture to a cheesecloth-lined bowl and refrigerate for 4 hours. Once firm, shape into a ball and roll in the combined mixture of finely chopped walnuts and cranberries. Refrigerate for an additional 2 hours before serving.
For optimal results, ensure all excess water is removed from the cashews after soaking, as this can affect the final texture. If the mixture seems too soft to form into a ball, refrigerate it longer before shaping.
The cheese ball can be made up to 5 days in advance and should be stored in an airtight container. Remove from refrigeration 15 minutes before serving to achieve the perfect spreading consistency.
Step-By-Step Cooking Instructions
Begin by soaking your raw cashews overnight in cold water to ensure they’ll achieve maximum creaminess when blended with the nutritional yeast, lemon juice, vinegar, and seasonings until silky smooth.
You’ll need to wrap the mixture in cheesecloth and refrigerate it for several hours before shaping it into a perfect sphere with your hands.
Finally, you’ll create a festive coating by rolling your chilled cheese ball in the finely chopped walnut-cranberry mixture, ensuring complete coverage of the exterior.
Step 1. Soak Raw Cashews Overnight

For the most luxuriously creamy base of your vegan cheese ball, place 2 cups of raw cashews in a large glass bowl and cover them completely with cool, filtered water by at least 2 inches.
Let them soak for a minimum of 8 hours or overnight at room temperature to achieve optimal softness and digestibility.
If you’re short on time, you can expedite the process by using the quick-soak method. Simply bring a pot of water to a rolling boil, remove it from heat, add your cashews, and let them soak for 1 hour.
While this method works, you’ll achieve superior results with the overnight soak.
You’ll know your cashews are properly soaked when they’ve nearly doubled in size and break apart easily when pressed between your fingers.
Once soaked, drain them thoroughly in a fine-mesh strainer and rinse under cold water until it runs clear.
Pat the cashews dry with a clean kitchen towel before proceeding with your recipe.
Don’t skip this crucial drying step, as excess moisture can affect the final texture of your cheese ball.
Step 2. Blend Ingredients Until Smooth

Now that your cashews have reached the perfect degree of softness, place them in a high-powered blender or food processor along with the nutritional yeast, lemon juice, apple cider vinegar, garlic powder, onion powder, and sea salt.
Begin blending on low speed for 30 seconds to break down the cashews, then gradually increase to high speed. You’ll need to stop periodically to scrape down the sides of the blender with a rubber spatula, ensuring all ingredients are thoroughly incorporated.
Continue processing until the mixture achieves a completely smooth, cream cheese-like consistency with no visible cashew pieces remaining.
If you’re using a food processor, you may need to blend for 5-7 minutes to achieve the desired silky texture. The mixture should be thick but still slightly flowing when it’s ready.
Test the consistency by rubbing a small amount between your fingers – it should feel perfectly smooth without any graininess. If needed, add 1-2 teaspoons of water to help achieve the proper consistency, but be cautious not to add too much liquid, as this will affect the cheese ball’s ability to hold its shape.
Step 3. Chill Mixture in Cheesecloth

After achieving the perfect creamy consistency, you’ll need to transfer the cashew mixture into a large piece of cheesecloth that’s been folded into four layers.
Gather the corners of the cheesecloth and twist them together firmly, creating a tight bundle around the mixture. Don’t hesitate to squeeze gently to remove any excess moisture, as this will help achieve the ideal texture.
Secure the twisted portion with kitchen twine or a rubber band, ensuring it’s tight enough to maintain the shape but not so tight that it forces the mixture through the cloth’s weave.
Place the wrapped bundle in a colander or mesh strainer, then set it over a bowl to catch any liquid that might drain during the chilling process. Position the entire setup in your refrigerator for exactly 4 hours.
During this crucial chilling period, the cashew mixture will gradually firm up and develop a more concentrated flavor profile.
The cheesecloth’s breathable nature allows moisture to escape while maintaining the mixture’s structural integrity. Once the 4-hour mark has passed, you’ll notice the texture has transformed into a perfectly moldable consistency.
Step 4. Shape Into Ball Form

The chilled cashew mixture has reached its optimal consistency and awaits transformation into an elegant spherical form. You’ll want to remove the mixture from the refrigerator and carefully unwrap the cheesecloth, being mindful not to disturb the semi-firm texture you’ve achieved during the chilling process.
Using clean, slightly damp hands, gather the mixture and begin shaping it into a rough sphere. Apply gentle, even pressure as you roll the mixture between your palms, working quickly to prevent it from warming. You’ll notice the surface becoming smoother with each rotation.
For precise shaping, place the ball on a clean work surface and use your fingers to refine any irregular areas, ensuring geometrical symmetry from all angles.
Once you’ve achieved a perfect sphere approximately 4 inches in diameter, place it on a parchment-lined plate. If the mixture becomes too soft during handling, return it to the refrigerator for 15 minutes before continuing. Your cheese ball should now display a uniform, crack-free surface ready for its cranberry-walnut coating in the next step.
Step 5. Roll in Nut Mixture

With your perfectly shaped vegan cheese ball ready, prepare the coating by combining the finely chopped walnuts and dried cranberries in a shallow bowl, ensuring they’re evenly distributed for a balanced presentation.
You’ll want to pulse the walnuts in a food processor until they’re roughly the size of small peas, while hand-chopping the cranberries to maintain their texture and prevent them from becoming too sticky.
Gently roll your chilled cheese ball in the nut-cranberry mixture, applying light pressure to help the coating adhere to the surface. As you roll, you’ll need to continuously scoop the mixture over any bare spots to achieve complete coverage.
If you notice any areas where the coating isn’t sticking properly, simply press the mixture onto these spots with clean hands. For optimal results, you should lift the cheese ball and carefully pat additional coating around the bottom edge, where it meets the plate.
Once you’ve achieved an even coating, transfer your cheese ball to a clean plate and refrigerate for at least two hours to allow the exterior to set firmly against the creamy center.
Why I Love This Dish
Creating this vegan cheese ball brings me immense satisfaction as both a home cook and entertainer. I’ve found that it perfectly bridges the gap between indulgent appetizers and health-conscious choices, allowing me to serve something that delights both vegans and non-vegans alike.
The creamy cashew base transforms into a remarkably cheese-like consistency that I’m proud to present at any gathering.
What I particularly love about this dish is its versatility and make-ahead convenience. I can prepare it days in advance, knowing it’ll maintain its pristine texture and complex flavors.
The combination of tart cranberries and earthy walnuts creates a sophisticated flavor profile that I’ve carefully refined through numerous iterations. When guests inevitably ask for the recipe, I take pride in explaining how simple, yet elegant ingredients come together to create something extraordinary.
I’m especially drawn to how this cheese ball maintains the beloved characteristics of traditional dairy-based versions while aligning with my commitment to plant-based cooking.
It’s become my signature appetizer, one that consistently earns praise for its rich, nuanced flavors and professional presentation.

Leave a Reply